
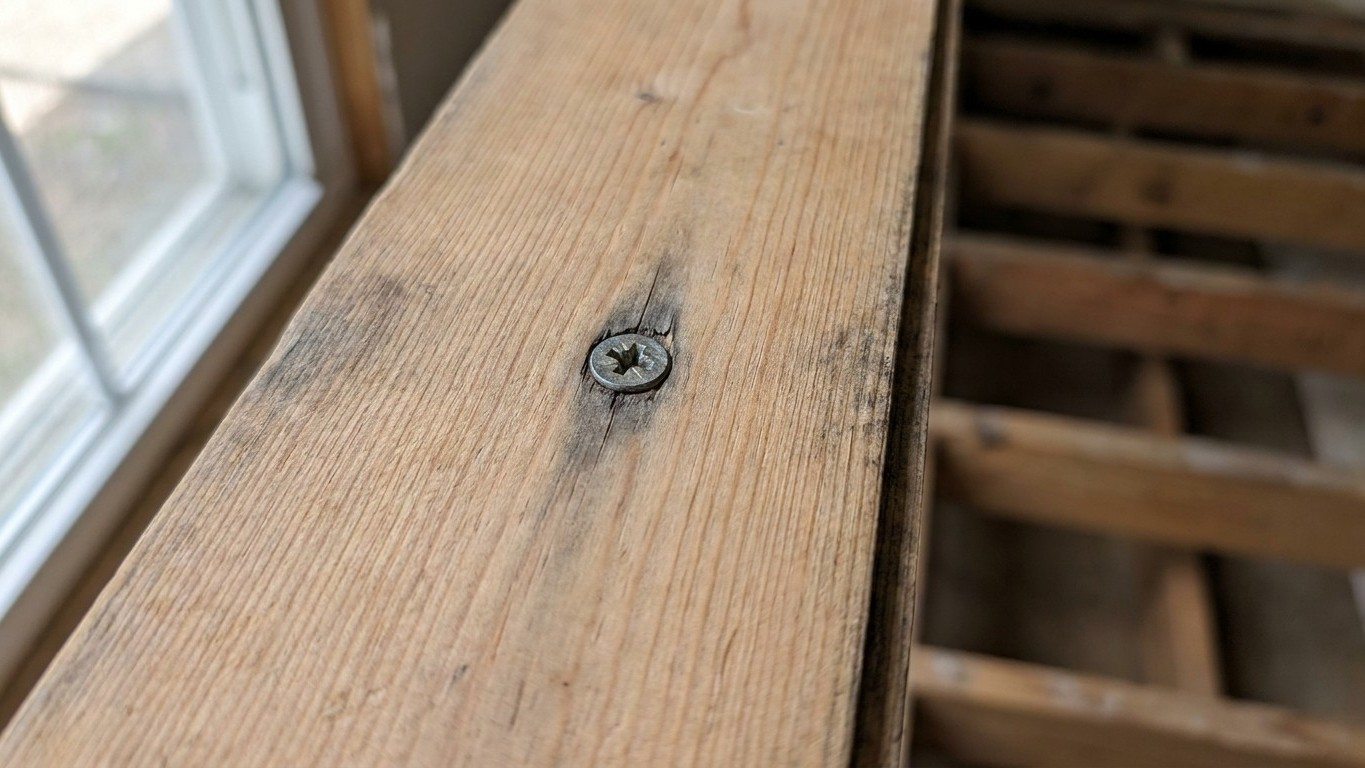
That satisfying silence after driving screws into a creaking floorboard lasted exactly six months in my house. Then I lifted the board to run a new cable underneath, and found the joist beneath it soft, dark and slightly damp, right where one of my “helpful” 50mm screws had gone in. The squeak was cured. The problem underneath had been quietly growing the whole time.
What I’d done wasn’t unusual, and it isn’t rare either. Plenty of people reach for a drill the moment a floorboard starts singing, because screwing a loose board down to the joist really is the proper fix for most squeaky floorboards, since if the board has come loose from the joist below, screwing it down stops the movement permanently. The trouble is that a screw driven blind from above doesn’t just grip timber. It can also find a water pipe, a cable, or a section of joist that’s already past its best, and you won’t necessarily know anything’s wrong until you go looking again.
Key takeaways
- A 50mm screw into a floorboard can damage hidden pipes and cables you never see coming
- Water damage from a pinched pipe doesn’t gush—it weeps silently for months, rotting wood from within
- The safest fix requires just five extra minutes of caution before you reach for the drill
Why a “small” screw can cause a slow disaster
Most advice, including my own past columns, tells you to use 40 to 50mm screws for this job, and that’s genuinely sound guidance: they’re long enough to secure into the joist but short enough to poke through the board and cause damage. On paper, the numbers work out nicely. Standard joists run 150 to 200mm deep, and pipes and cables typically run through holes in the middle third of the joist, so a 50mm screw into a 20mm board gives you only 30mm of penetration into the top of a joist, well above any holes. That’s the theory, and it’s why I felt so confident with my drill that afternoon.
Real houses are messier than the diagrams, though. One DIYer fixing squeaks before a new carpet went in found a water pipe just under the surface, right at the edge of a floorboard, and put a screw straight through it on what he thought was the very last fix needed. Pipes don’t always sit tidily in the centre of a joist, especially in older houses that have had bathrooms moved, radiators added, or central heating retrofitted decades after the floor was first laid down. That’s exactly why screws are best positioned slightly off-centre of the joist, since pipes are usually run through the centre, and it’s also why there is genuinely no completely safe method for blindly screwing down from above, even with a pipe and cable detector to hand.
The damage that doesn’t show up for months
A screw striking a live electrical cable tends to announce itself fairly quickly, with a tripped circuit or worse. A screw nicking a water pipe is a different animal entirely, and it’s the reason my own six-month gap turned into a nasty surprise. A hairline puncture doesn’t necessarily gush. It weeps. Moisture creeps into the surrounding timber, feeds rot in the joist, and can sit there quietly darkening the wood and softening the fibres long before a stain appears on the ceiling below. Plumbing forums are full of exactly this pattern, where floor systems face hidden pipe punctures and unnoticed water leaks after screw installation that only surface once someone happens to lift the boards again, or the smell of damp finally gives the game away.
Wood itself compounds the problem. Old floorboards and joists shrink and swell with the seasons, and a screw sitting in damp, softening timber loses its grip far faster than one in sound wood. By the time I got the board up, the screw practically fell out in my hand, not because it had failed, but because the timber around it had rotted enough to stop holding on. Six months of silence had masked six months of decay.
Doing it properly, the second time round
None of this means you should live with a squeaky landing forever, nor does it mean every screwed-down board is a leak waiting to happen. It means the job deserves five extra minutes of caution before the drill comes out. If you can get underneath the floor at all, even a quick look from a cellar, loft hatch, or the room below, do that first rather than trusting a detector alone. Where you can’t get underneath, lift one board along the run before fixing the rest, so you can actually see where the pipework goes rather than guessing.
A few habits make the whole job safer, and I stick to all of them now:
- Keep to 40 to 50mm screws for a typical 18 to 22mm board, never longer than you need.
- Check for hidden pipes and cables beneath the floor, and pre-drill a small pilot hole so the boards take the fixings cleanly.
- Follow the line of existing nail holes rather than inventing a new spot, since that’s usually where the joist actually sits.
- Keep the screw shorter than the combined thickness of subfloor and board, so the tip can never break through your finished floor above or the joist beneath it.
- Come back and check the spot again after a few weeks, not just six months later, especially if the board is anywhere near a bathroom or kitchen above or below.
I did eventually fix mine properly, drying the joist out, treating it, and replacing the section that had gone soft before screwing the board back down with a shorter screw set well clear of where the pipe now runs. The floor doesn’t squeak, and this time I actually know what’s underneath it. If you’ve got a board that’s been silently screwed down for months or years and you’ve never once peered beneath it, that’s worth doing before winter, not after a stain appears on the kitchen ceiling.
Sources : tradefoxapp.com | community.screwfix.com