
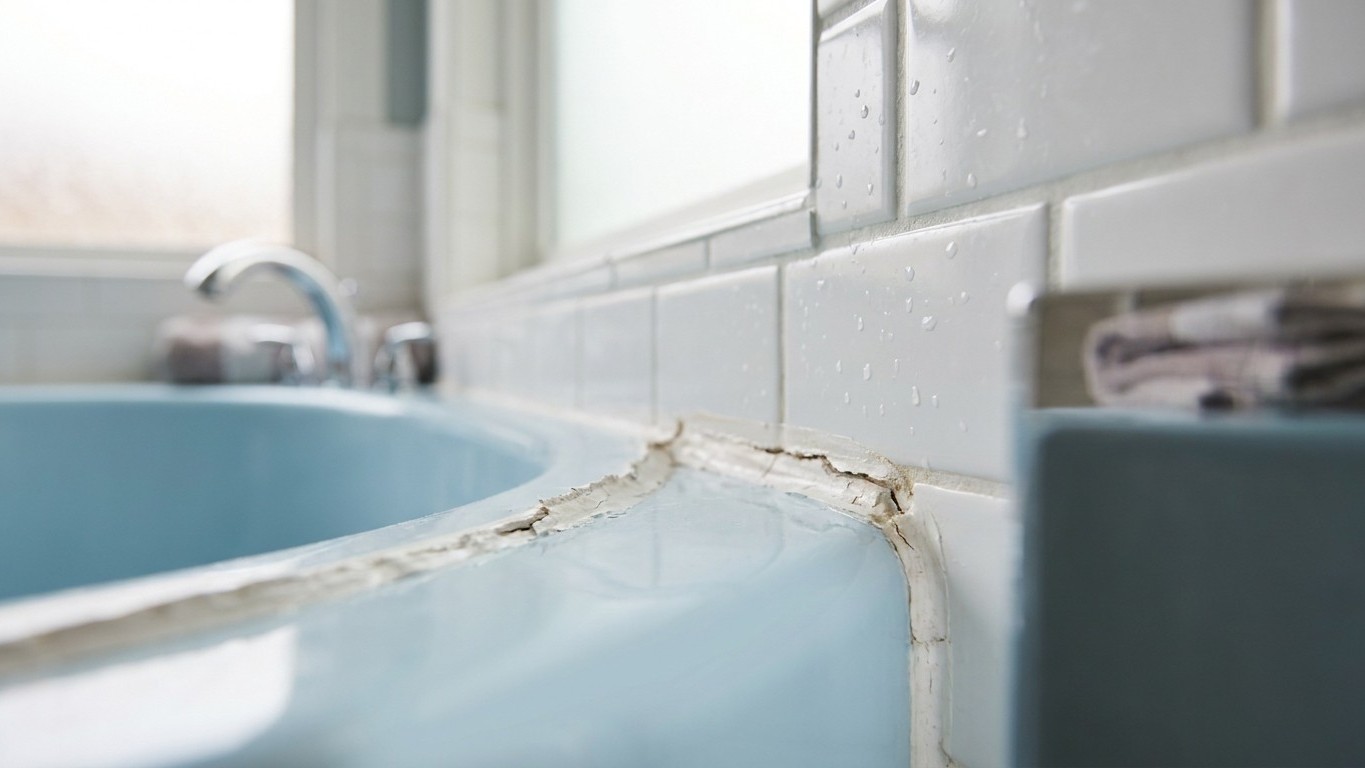
That gap you saw stretching open the moment the water hit the overflow wasn’t your imagination, and it certainly wasn’t bad luck. It was simple physics catching up with you. An acrylic bath, empty, sits at rest. Fill it with water and add a body, and that same tub can flex downward just enough to tear a brand-new bead of sealant clean away from the tile. You did the job on a Sunday afternoon with the tub bone dry, admired the neat white line, let it cure, and then discovered the hard way that acrylic doesn’t stay still.
Here’s what actually happens under the surface. An acrylic bath isn’t rigid like cast iron. By the time you add both water and people, your bathtub can weigh over 400 pounds, and this can easily cause it to sink just a little bit, the floor bends, the bathtub itself bends a bit, pulling at the caulking and putting stress on that watertight joint. Silicone is flexible, but it isn’t infinitely stretchy, and a joint that was sealed in a relaxed, “at rest” position gets yanked taut the very first time you run a proper bath. When a bathtub is filled with water or someone gets into it, it sags and pulls at the seams. Cheap trick, this bit of engineering, but it’s real, and it catches out even people who’ve done the rest of the job beautifully.
Key takeaways
- Acrylic bathtubs flex and sag when filled with water and weight, but most people seal them bone dry
- A caulk bead applied to an empty tub gets yanked taut the moment real water and body weight hit—like tailoring a coat on someone standing straight
- One forgotten trick from plumbers changes everything: fill the tub first, then seal it under load
Why sealing an empty tub sets you up to fail
Plumbers and tilers have quietly known this for decades, which is rather annoying when you only find out after the fact. Many people make the simple mistake of not filling the bathtub before caulking, and this results in cracks that form when the tub is filled for the first time after caulking, because whatever caulk is applied to the seams needs to be adjusted for the pressure of the tub sagging, otherwise it will crack when the bathtub is filled. The caulk you laid down was never wrong, exactly. It was just applied in the wrong position, like tailoring a coat on someone standing perfectly straight and then expecting it to fit when they slouch.
Fibreglass and acrylic tubs are the worst offenders. If you have a heavy fiberglass or acrylic tub, the weight of the water pulls the tub down, widening the gap slightly. Cast iron and enamelled steel barely move, so the old rule matters far less there. If yours is a sturdy bathtub made from cast iron, you really don’t need to pre-fill it before sealing, as there’s actually no need to fill the tub before applying the caulk since it won’t make any big difference. But acrylic, being lightweight and slightly springy by design, moves noticeably, and that movement is precisely what tore your joint open.
The trick that actually works, and costs nothing
Next time, and there will be a next time because sealant doesn’t last forever, run the taps before you run the sealant gun. Fill the tub three quarters of the way with water, which will simulate the actual weight of the bathtub when it is being used and make it sag and pull at the seams. Some sources suggest slightly less; the details vary, but the principle stays the same across every account I’ve come across.
Once the tub is loaded and sitting in its “used” position, strip out every scrap of the old, failed sealant and clean the joint thoroughly, letting it dry fully before you start (damp silicone never bonds properly, full stop). Lay your new bead while the water is still sitting in the bath. If you fill the tub first, you sink the tub to start with, then caulk and leave the water for at least 24 hours so that caulking has a chance to cure thoroughly. The caulking will be slightly compressed when you drain the tub, but the next time you fill it and get in, the caulking will not be stressed, it will simply flex back to its relaxed position, avoiding tear away and assuring a longer lasting seal. It feels a bit mad, sitting there with a full tub and a caulking gun rather than a rubber duck, but it’s the difference between a seal That Lasts Years and one that fails within a fortnight.
Leave the water in place while the sealant cures, not just while you apply it. Manufacturer timings vary quite a bit; some silicones are touch-dry and safe to expose to water within half an hour, while full cure can take a full day. GE Advanced Silicone 2 Kitchen and Bath sealant is water-ready in 30 minutes but fully cured in 24 hours, so it’s worth checking your own product for its specific curing instructions. Whatever you’re using, patience here saves you doing the whole miserable job twice.
Choosing a sealant that can actually take the strain
Material matters just as much as method, and I’d argue it’s the bit most tin-of-caulk labels gloss over. Plain acrylic caulk, the kind sold cheaply for skirting boards and window frames, simply isn’t built for a joint that moves. Vinyl latex caulk should be used on surfaces that are tight and have minimal movement, since it is not very flexible after it cures and can crack. A bathtub joint, especially an acrylic one, is about as far from “minimal movement” as a bathroom gets. Caulks made of 100% silicone are extremely flexible and durable when fully cured, waterproof, and will adhere to almost any surface, making them ideal when closing a joint between dissimilar materials. Between tile and acrylic, that’s exactly the job description.
Look for a product specifically labelled as bathroom or sanitary silicone rather than a general-purpose builder’s caulk; the mould inhibitors and flexibility ratings are formulated differently, and it’s a small price difference for a job you’d rather not repeat every winter. Tool the bead smooth with a damp finger or a proper caulking tool straight after application, working in short sections so the silicone doesn’t start skinning over before you’ve finished shaping it. A tidy line isn’t just vanity, it also sheds water better and resists the grubby build-up that makes bathrooms look tired long before they actually are.
One last thing worth knowing, because it trips people up constantly: don’t run a thick, unbroken caulk bead absolutely everywhere. Water getting past the tile has to be able to weep out, and caulking blocks this and often forces water into the wall, so if you must seal for aesthetics, avoid placing a large coved bead there as it will block water from exiting the system. A neat, thin line does the job silicone is meant to do without accidentally trapping moisture behind your nice new tiles.
Sources : moneypit.com | doityourself.com