
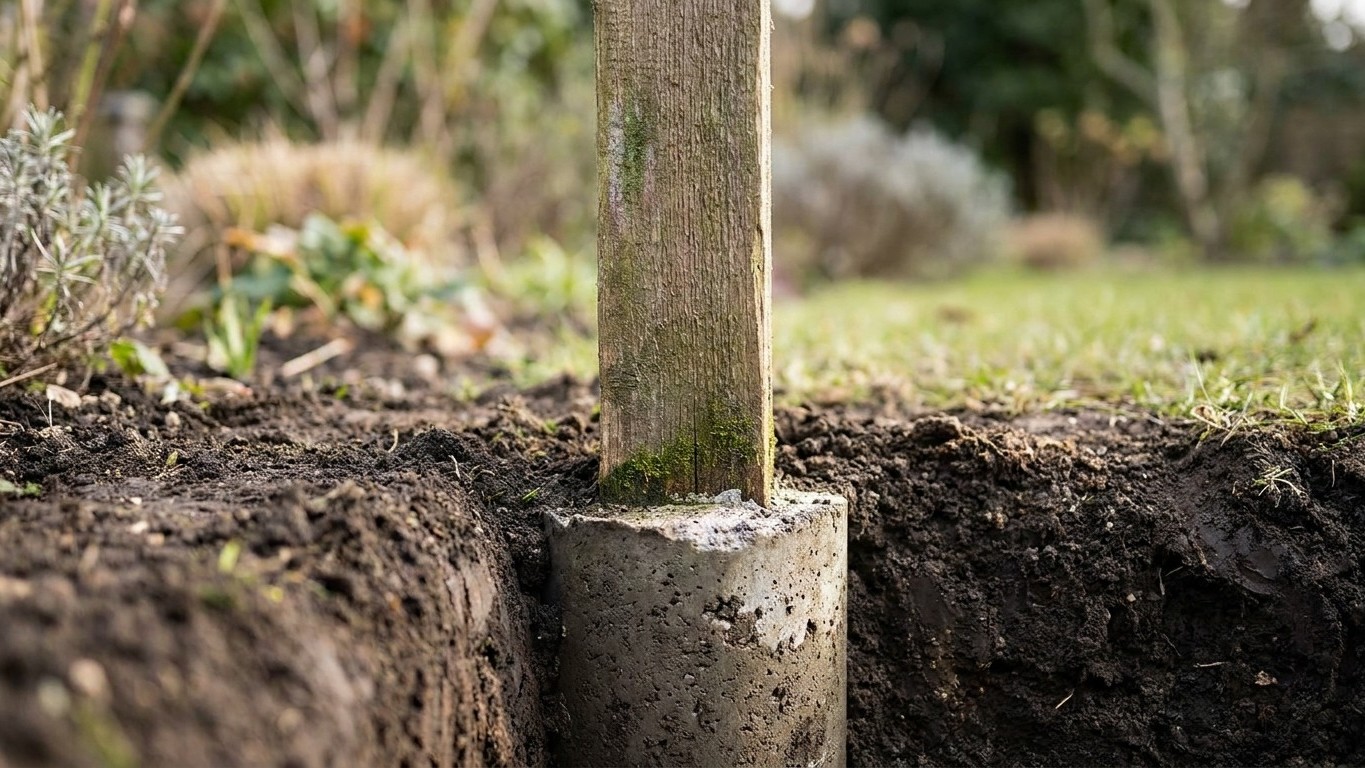
Flush concrete looks tidy for about a season. Then the trouble starts exactly where you can’t see it: right at the base of the post, hidden under a lawn that’s grown back over the top. By the time you notice your fence leaning, or you go to replace one post and the whole thing crumbles in your hand, the timber’s often been quietly rotting away for years.
The mechanism is simple once you understand it, and it’s the same reason gardeners have grumbled about this for generations. Wood buried in soil dries out reasonably well because soil, being porous, wicks moisture away over time. Concrete does the opposite. Like a sponge, wood will suck up water, but unlike a sponge, that water cannot be easily removed by squeezing, and wood needs weeks of properly aired conditions to dry out, which never happens when a post is buried and surrounded by concrete. Set that concrete flush with the lawn, and you’ve built a lid over the one spot that most needs to breathe.
Key takeaways
- Concrete traps moisture in a dangerous ‘rot zone’ right where you can’t see it happening
- A firm-looking fence above ground can hide a post that’s already turned to mush below the soil line
- The fix costs nothing extra but requires rethinking how you finish the concrete when it’s wet
Why the ground line is the danger zone
Fencing contractors sometimes call it the rot zone, and it’s remarkably consistent from garden to garden. Decay tends to concentrate in a band roughly 4-5 inches above ground level and 7-8 inches just below it, which happens to be exactly where flush-poured concrete traps the worst of the moisture. Rainwater runs off the lawn, pools against the collar of concrete because it has nowhere else to go, and seeps down the gap between post and concrete created by natural shrinkage.
Then winter arrives and makes things worse. Seasonal changes cause concrete to expand and contract, leading to cracks, and as the months pass, water seeps in, freezes, and expands, creating further fractures that accelerate post rot and increase the risk of the fence becoming unstable. Three winters is roughly the point where a lot of untreated or lightly treated softwood posts have had enough freeze-thaw cycles to turn spongy right at that ground line, even though the top of the post, exposed to sun and air, still looks perfectly sound.
I’ve heard from readers who assumed a firm-looking fence meant a healthy post. It doesn’t. The post can wobble not one bit above ground while the section buried in that flush concrete has turned to something closer to wet cardboard. You only discover it when you try to pull the post, or when a gust of wind does the job for you.
The fix contractors actually use
The professional trick isn’t complicated, and it costs nothing extra beyond a bit of extra care while the concrete is still wet. Leave the concrete slightly proud of the ground to avoid rainwater collecting at the base of the post. A gentle dome, sloping away from the post on all sides, sends rain running off into the lawn instead of pooling around the timber. It looks a touch less neat than a flush finish for the first few weeks, but grass creeps in around the edges soon enough and you’d never know it was there.
Drainage underneath matters just as much as shape on top. Adding 10 to 15cm of gravel to the base of each hole before pouring concrete helps drainage and prevents the water accumulation that causes frost heave in winter. That layer gives water somewhere to go rather than sitting in a puddle directly under the post end, which is often where rot starts its work from below as well as from the sides.
If you’re using timber posts with concrete gravel boards rather than a full concrete surround, you get an even better result. The gravel board sits as a protective layer between the ground and your fencing material, providing a solid base and protecting the fence from groundwater. The timber post itself never touches soil or standing water at ground level at all; the concrete board takes the punishment instead, and concrete shrugs off damp far better than wood ever will.
Rescuing what you’ve already got
Not everyone reading this is starting from scratch, and ripping out a whole fence run because of one bad decision years ago feels drastic. If you catch a post early, while it’s just gone slightly dark or spongy rather than crumbling, there’s usually still time to act.
The most reliable fix among fencing contractors is a physical barrier between wood and soil. Applying a wood preservative such as copper naphthenate to the buried portion of the post, or using purpose-made sleeves and wraps as a physical barrier between post and soil, are among the most effective treatments and they’re widely available from builders’ merchants rather than anything obscure. One product designed specifically for this uses a bituminous liner that’s heat-shrunk onto the timber, and its maker describes the moment of truth nicely: you know you’ve got a proper seal when the inner black bituminous layer comes out the top and bottom, otherwise known as the black ring of confidence.
For posts that have already gone too far, there’s no shortcut round replacement, but you can at least do the new one properly. Break out the old flush concrete completely rather than pouring fresh concrete on top of the crumbling collar, dig the hole a touch wider than last time, and this time leave that gentle mound above ground. It takes an extra ten minutes with a trowel. Given that a decent fence post installation should see you through fifteen to twenty years, ten minutes now is not a lot to ask.
One detail that catches people out even on a correctly domed post: keep the base clear of grass clippings and fallen leaves. That organic debris sitting against the timber does much the same damage as poor drainage, feeding the fungi that cause decay long after your careful concrete work has done its job properly everywhere else.
Sources : fencearmor.com | makergray.com