
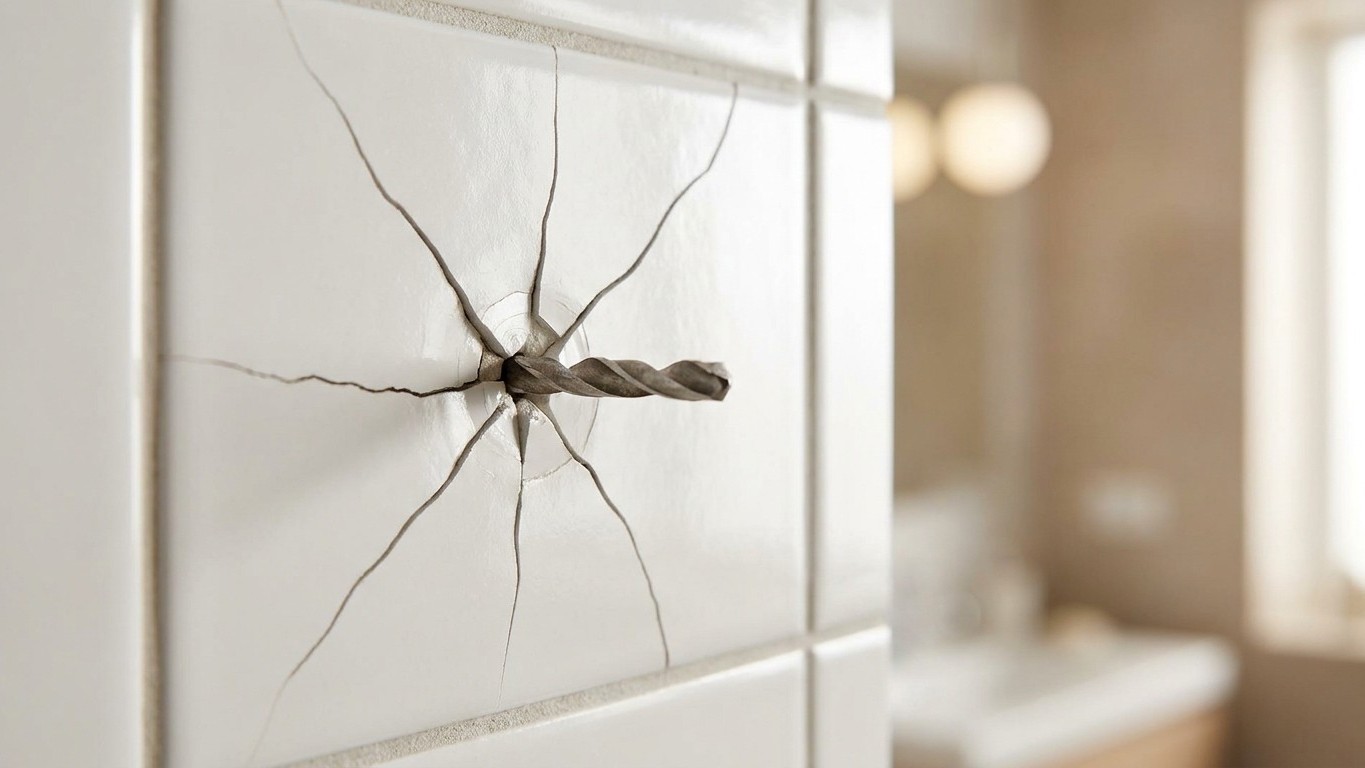
The moment a hammer drill’s percussion function meets glazed tile, there’s no do-over. That white spidery bloom racing across the enamel isn’t dust, and it isn’t something a bit of grout filler will hide. It’s the tile’s structure giving way to a shockwave it was never built to absorb, and once you see that fracture spread, the tile behind your taps or above your bath panel is finished. Hammer mode pushes rapid vibrations into the tile surface, and these shockwaves can cause it to crack instantly.
I’ve heard this exact story from more readers than I can count over the years, and I made the same mistake myself decades ago, reaching for the hammer setting out of sheer habit because that’s what you use for brick and block. Tiles simply don’t play by the same rules. Tiles crack due to fundamental material properties: ceramic, porcelain, and natural stone tiles are brittle materials, and unlike wood or metal, which can absorb and distribute stress, tiles fracture under concentrated pressure. When your drill bit contacts the glazed surface, it creates intense localised stress, and if that stress exceeds the tile’s tensile strength, cracks propagate outward from the point of contact.
Key takeaways
- A hammer drill’s percussion function delivers shockwaves that tiles can’t absorb, causing instant cracks that spread faster than you can react
- Porcelain and ceramic are brittle materials that shatter under concentrated pressure—unlike masonry, where hammer mode belongs
- The right technique involves slow speed (400-600 RPM), water cooling, diamond bits, and masking tape, but one misstep ruins a £40 tile
Why the Pounding Action Betrays You So Fast
A standard hammer drill works by pummelling the bit forward hundreds of times a second while it spins, brilliant for chewing through masonry, disastrous for anything thin and glassy. That same pounding will trash your tile if you use it on the surface, cracking it instantly. Some tilers do use hammer settings, but only once they’re well past the ceramic layer. The hammer function should only be engaged once the drill has passed through the tile and reached the underlying substrate, such as concrete or brick. Flip it on too soon and the story ends very differently: percussion will crack tile instantly, no matter how gently you’re pressing.
Heat is the quieter culprit, one that catches out people who’ve switched off hammer mode but still crank the speed dial to full. The most common mistake is drilling too fast, since high RPM generates heat faster than it can dissipate, which causes thermal cracking in dense porcelain. Porcelain punishes impatience particularly badly, sitting well above ordinary ceramic on the hardness scale. Porcelain is fired at a higher temperature than standard ceramic, making it significantly harder, with a Mohs hardness of 7 to 8 versus 5 to 6 for ceramic. That’s roughly the difference between drilling into a garden brick and drilling into a lump of quartz.
Doing It Properly Without Ruining a £40 Tile
Right, enough doom and gloom, let’s fix this. Set your drill to ordinary rotary mode, no hammer, no impact, and pick a bit that actually matches what you’re drilling. Carbide-tipped drill bits work best with ceramic tiles, while diamond-tipped drill bits are ideal for porcelain, stone, marble, or any dense tiling material. Reach for a wood or metal bit out of desperation and you’ll only ruin both the bit and the tile, since standard wood or metal bits lack the hardness to penetrate glazed surfaces and will overheat.
Before the drill even touches the surface, stick a small piece of masking tape over your pencil mark. It sounds fussy, but that scrap of tape is doing real work: the tape gives the drill bit more grip and prevents it from slipping on smooth matte or glossy tile surfaces. Start at a genuinely slow speed, somewhere around 400 to 600 RPM, applying light, steady pressure rather than forcing the bit through the tile. Keep the spot damp as you go, a spray bottle of plain water is all you need, because every ten to fifteen seconds you should pause to spray water onto both the drill bit and the surrounding tile surface, since water serves as both coolant and lubricant, dramatically reducing friction and preventing thermal damage.
You’ll feel the exact moment you’re through. You’ll feel a subtle shift when the bit breaks through the glaze into the tile’s softer body, and resistance decreases slightly. That’s your cue to ease off rather than push harder, and if you’re drilling near a bath or basin fixing, resist the urge to drill anywhere close to the tile’s edge, since tiles are weakest near edges, so it’s best to maintain at least one tile width from the edge. Once you’ve broken through, swap to a bit suited to whatever’s behind the tile, plasterboard, cement board or masonry, rather than wearing out your good diamond bit on brick.
What to Do When the Damage Is Already Done
If a crack has already spread across the enamel, stop the drill immediately and take a proper look before deciding what happens next. Hairline surface cracks that haven’t gone right through are sometimes salvageable. Small chips around the hole can be smoothed and filled with epoxy putty or colour-matched tile filler, then left to cure and sanded lightly, which works well for small cosmetic chips. A cracked tile sitting behind a mirror or towel rail might be forgivable too, since the fixture itself can hide a minor blemish.
A deep split running clean across the tile is a different matter entirely. If the crack runs long or the tile is split, replacement is usually best. And if you genuinely can’t source a matching replacement (a nightmare with discontinued ranges, as anyone who’s tried will know), there’s a slightly cheeky workaround: cut around the crack and use the intact part as a mosaic accent, a small decorative panel, or a backsplash patch after sealing the cracked zone with epoxy and grout. Not elegant, but far cheaper than retiling an entire wall over one careless hole.
One last thing worth tucking away for next time: that satisfying “clunk” resistance drop you feel when a bit finally punches clean through isn’t the moment to relax your grip. For tiles with thin backing, holding the drill at the same angle and finishing slowly matters, because exiting too quickly can cause the rear to chip or blow out on the wall side, invisible from the front but weakening the whole fixing. A slower finish costs you an extra thirty seconds. A blown-out back costs you a wobbly towel rail six months later.
Sources : homebuilding.co.uk | makute.com