A simple bottle, a clear view
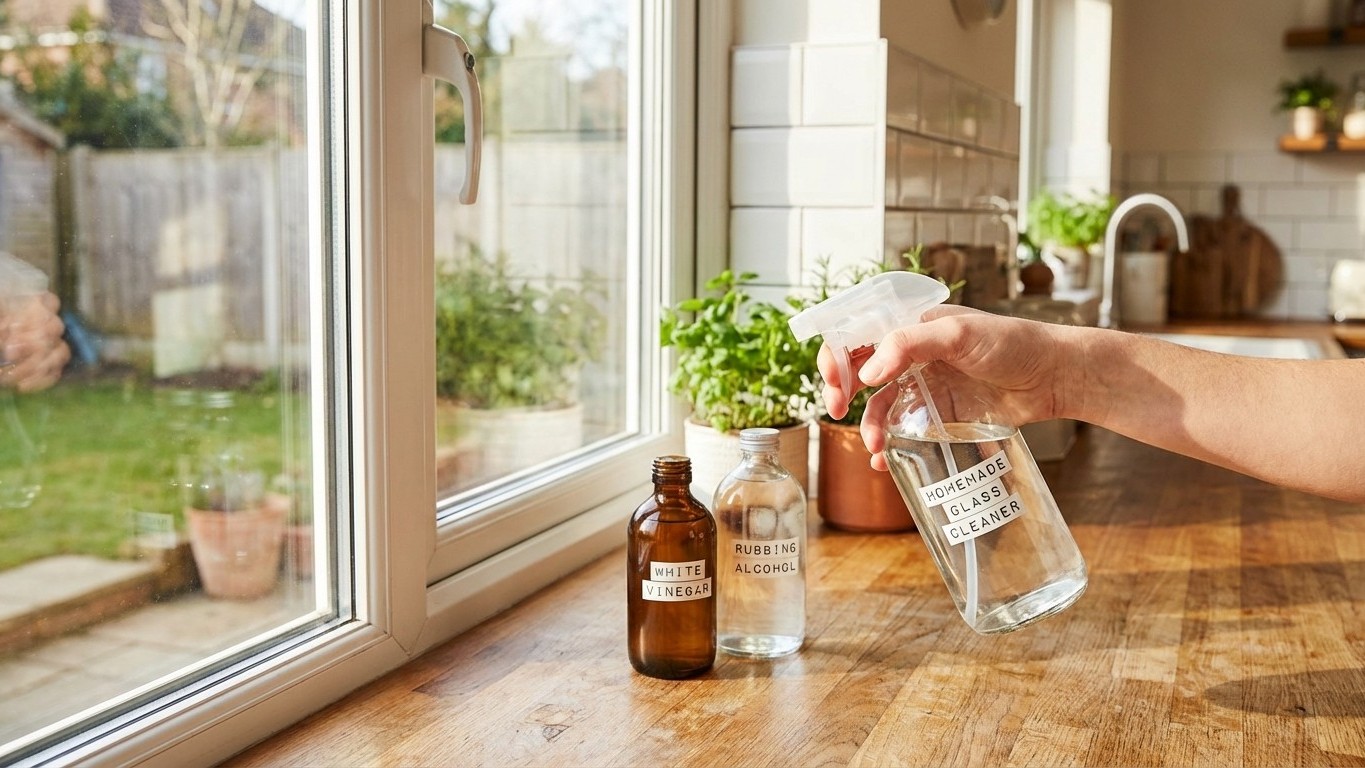
A good homemade glass cleaner vinegar and alcohol can feel like one of those small household miracles: quick to mix, inexpensive, and surprisingly good at shifting greasy fingerprints and everyday haze. I like it because it relies on two dependable workhorses. Vinegar helps dissolve mineral marks and dull film, while alcohol speeds up drying so you are less likely to end up with smears. That fast evaporation is the little bit of modern science that makes the old-fashioned vinegar trick behave beautifully on today’s double glazing and shiny bathroom mirrors.
February 2026 brings the same old story in most homes: heating on and off, condensation on windows, and a constant parade of handprints. This guide is designed as a practical “leaf” page, so you can mix the spray, use it safely, and get a streak-free finish Without fuss or mystery ingredients.
Why make your own glass cleaner with vinegar and alcohol?
Benefits: effectiveness, economy, and a kinder indoor air
For day-to-day dirt on glass, this mixture works because it tackles several common problems at once. Vinegar (acetic acid, in mild household strength) helps loosen limescale specks and the faint film left by hard water. Alcohol (commonly ethanol or isopropyl alcohol sold for household use) cuts through oily residue and evaporates quickly. Less water sitting on the glass means fewer drying marks.
- Effectiveness: good on fingerprints, light grease, cooking haze on kitchen glass, bathroom mirror splashes, and “winter window” film.
- Economy: you buy basic liquids and reuse a spray bottle. No need for specialist scents or single-purpose bottles.
- Health and comfort: fewer perfumes and fewer lingering vapours than many fragranced sprays, provided you ventilate and do not overdo the alcohol.
My grandmotherly note here: your lungs deserve the same kindness as your windows. Open a window while you clean, even in February. Two minutes of fresh air beats a headache.
How it compares with shop-bought cleaners
Commercial glass cleaners often contain a mix of solvents, surfactants (to lift grease), sometimes fragrance, and sometimes anti-static ingredients to slow dust return. Your homemade glass cleaner vinegar and alcohol is simpler. It may not leave the same “slick” feel or anti-fog effect some products aim for, but it does the core job very well: cleaning and drying without streaks.
Where shop products can outperform a homemade mix is on heavy, sticky grime, old nicotine film, or very greasy kitchen buildup. In those cases, a pre-wash with warm soapy water is often the better first step, then finish with the vinegar and alcohol spray for clarity.
Compatible materials and ideal uses
This recipe is best for non-porous, smooth surfaces:
- Window glass (inside and outside, weather allowing)
- Mirrors
- Glass tables and glass cabinet doors
- Shower screens (for regular maintenance cleaning)
It is less suitable for porous materials and delicate finishes, which we will cover in the precautions section. When in doubt, test a small, hidden area first and wait a few minutes before committing.
Detailed recipe: homemade glass cleaner vinegar and alcohol
Ingredients you need, plus sensible alternatives
This is my go-to balanced recipe for a 500 ml spray bottle. It is strong enough to work, mild enough to use regularly.
- White vinegar: 125 ml (about 1/2 cup)
- Rubbing alcohol (ethanol or isopropyl): 125 ml (about 1/2 cup)
- Water (preferably distilled in hard-water areas): 250 ml (about 1 cup)
If you do not have distilled water, tap water is fine for most households, but hard water can leave faint marks. Distilled water is a small upgrade that often makes a visible difference on dark glass and mirrors.
Variations you can use, depending on your needs:
- For very quick drying: increase alcohol to 150 ml and reduce water to 225 ml. Use with good ventilation.
- For lighter smell: reduce vinegar to 100 ml and increase water to 275 ml. You may need an extra wipe on limescale specks.
- For a gentler option: keep the standard recipe but use warm (not hot) water in the mix. It helps cleaning power without adding more solvent.
About Essential oils: they smell lovely, but they can leave a film if you add too much. If you choose to add them, keep it modest, and think of it as a scent, not a cleaning ingredient.
Tools that make the job easier
- A clean 500 ml spray bottle (glass or good-quality plastic)
- A measuring jug or measuring cup
- A funnel (optional, but it saves the counter from becoming “eau de vinegar”)
- Two cloths: one for wiping grime, one for buffing dry
- A squeegee for larger windows (optional, but marvellous for speed)
If you are unsure which cloth gives the best finish, have a look at best cloth for streak free natural glass cleaning. Cloth choice is often the difference between “nearly” and “sparkling”.
Step-by-step preparation: measurements, order, and practical tips
Mixing is straightforward, but a tidy order helps reduce fumes and splashes.
- Step 1: Rinse the spray bottle with warm water and let it drain. Old product residue can cause smears.
- Step 2: Measure 250 ml water and pour it into the bottle first. Starting with water reduces strong vapours as you add the other liquids.
- Step 3: Add 125 ml white vinegar.
- Step 4: Add 125 ml rubbing alcohol.
- Step 5: Put the trigger on and gently invert the bottle 5 to 8 times. Do not shake it like a cocktail, you just want it blended.
- Step 6: Label the bottle clearly: “Glass cleaner, vinegar + alcohol”. Add the date.
If you want a light scent, add 3 to 6 drops of essential oil at Step 4, then mix gently. More than that can leave a faint oily haze, particularly on mirrors under strong lighting.
How to avoid risks when mixing and how to store it
- Mix away from flames and heat sources. Alcohol vapour is flammable.
- Never reuse a bottle that previously held bleach or strong disinfectant unless you are completely sure it has been thoroughly cleaned. When in doubt, use a fresh bottle.
- Store upright, tightly closed, in a cool cupboard out of children’s reach.
- Keep it away from direct sunlight. Heat increases evaporation and pressure in spray bottles.
How to use it: clean windows and mirrors without streaks
Application technique: spray, wipe, and the best movements
Streak-free glass is mostly about method and timing. Too much liquid is the usual culprit, not too little.
- Step 1: Dust first. A dry microfibre cloth or a soft duster removes grit that can drag and smear.
- Step 2: Lightly mist the glass. For a standard window pane, 2 to 4 sprays is usually enough. More spray means more wiping.
- Step 3: Wipe using an “S” pattern from top to bottom. This moves dirt down and avoids pushing it back and forth.
- Step 4: Buff dry immediately with a second clean, dry cloth. This is the secret handshake for mirrors and glossy glass.
For large windows, you can spray a microfibre cloth rather than the glass, especially indoors. It reduces overspray onto frames, paintwork, and nearby fabrics.
Choosing the right cloth (and why it matters)
Microfibre is popular for a reason: its fine fibres lift residue and polish at the same time. Old cotton tea towels can also work well if they are lint-free. Newspaper is a traditional choice, but modern inks and paper coatings vary, and it can be messy on hands and frames.
For a deeper comparison and a few alternatives you may already have at home, the guide on best cloth for streak free natural glass cleaning is worth keeping bookmarked.
Common mistakes that cause streaks and halos
- Cleaning in strong sun or on hot glass: the liquid dries too quickly and leaves marks. Choose a cooler time of day.
- Using too much product: it pools, then dries unevenly. Mist lightly.
- One cloth for everything: a cloth that has picked up grease will redeposit it. Keep a “wash” cloth and a “buff” cloth.
- Ignoring the edges: grime collects where glass meets frame. Run a folded cloth along the edges last.
- Skipping the pre-clean on very dirty panes: if there is visible grime, wash with warm soapy water first, rinse, then use the spray as a finishing cleaner.
For additional technique ideas, including dealing with rain spots and seasonal pollen, you can dip into natural window cleaning hacks.
Precautions and limits of a vinegar and alcohol glass spray
Material risks: where to be careful
Vinegar is acidic, alcohol is a solvent, and both can upset certain finishes. Use caution on:
- Natural stone (marble, limestone, travertine): vinegar can etch and dull the surface. Keep the spray away from stone windowsills and bathroom ledges.
- Wood (sealed or unsealed): overspray can mark varnish or raise grain over time. Spray the cloth, not the wood-adjacent glass.
- Painted surfaces: repeated contact can soften some paints. Protect frames with a cloth while spraying.
- Delicate screens (some TV, monitor, and device coatings): alcohol can damage coatings. Use a cleaner designed for screens, or a barely damp microfibre with plain water if the manufacturer allows.
Safety: mixing, ventilation, storage
- Ventilate the room. Alcohol vapour builds up quickly in small bathrooms.
- Keep away from flames, candles, gas hobs, and hot hair tools while spraying.
- Wear gloves if you have sensitive skin. Vinegar and alcohol can be drying.
- Do not mix this with bleach, and do not add ammonia-based cleaners to the bottle. Keep homemade recipes simple and separate.
Children and pets: store the bottle high up, and never leave it on a windowsill “just for a minute”. Minutes have a habit of turning into phone calls.
When to avoid using this cleaner
- If the glass is extremely dirty with gritty outdoor mud, rinse first to avoid scratching.
- If you are cleaning near unsealed stone or delicate painted trim and cannot control overspray, choose a gentler method.
- If anyone in the household is sensitive to strong smells or solvents, reduce alcohol, increase water, and clean with extra ventilation.
FAQ: common questions about homemade glass cleaner vinegar and alcohol
What is the best recipe for homemade glass cleaner with vinegar and alcohol?
For most homes, the 500 ml mix of 250 ml water, 125 ml white vinegar, and 125 ml rubbing alcohol gives an excellent balance: cleaning power, quick drying, and fewer streaks. If your area has hard water, using distilled water often improves the finish more than changing the vinegar-to-alcohol ratio.
Can you use vinegar and alcohol on all glass surfaces?
It is suitable for most standard window glass and mirrors, but you should be cautious around surrounding materials like stone sills, varnished wood, and painted frames. For coated screens and some specialist finishes, alcohol can cause damage, so choose a method intended for that surface.
How do you avoid streaks and halos when cleaning naturally?
Use less liquid than you think, wipe in an “S” pattern, then buff dry with a second cloth. Avoid hot glass and strong sun. If streaks persist, your cloth is often the culprit: it may be too damp, too dirty, or leaving lint.
Can I add essential oils?
You can, but keep it modest, 3 to 6 drops per 500 ml bottle. Essential oils do not mix perfectly with water and can leave a slight residue if you use too much. If you notice smearing, skip the oils and focus on good cloths and quick buffing.
How long does the mixture keep?
When stored tightly closed in a clean bottle, in a cool cupboard, it generally keeps well for several weeks. I suggest making a 500 ml batch and dating the label. If it starts smelling “off”, looks cloudy beyond the normal slight haze, or the sprayer becomes sticky from residue, rinse the bottle and make a fresh batch.
Will it remove stubborn marks like grease, pollen, or heavy grime?
It is good on light grease and day-to-day film. For heavy kitchen grease, pre-wash with warm water and a small amount of washing-up liquid, then finish with the spray. For pollen, a damp wipe first stops you simply smearing it around, then the vinegar and alcohol mix gives the clear finish.
Useful links and extra tips
Go further with the same “natural cleaning” approach
If you enjoy simple recipes like this, the broader collection of natural cleaning hacks is a handy hub for room-by-room ideas, especially when you want to keep cupboards tidy and costs down.
Mirrors can be fussier than windows because bathroom light shows every tiny smear. For mirror-specific technique and the little errors that cause ghostly streaks, see clean mirrors naturally without streaks.
Windows, on the other hand, have their own quirks: condensation marks, rain spotting, and outdoor dust. The guide to natural window cleaning hacks adds a few practical routines that pair well with this spray.
A quick word on vinegar and bicarbonate
People often ask about mixing vinegar and bicarbonate of soda. They fizz, which is satisfying, but the fizz is a short-lived reaction that does not give you a better glass cleaner. Bicarbonate can also scratch glass if rubbed as a paste. Keep bicarbonate for gentle scouring jobs in sinks and tubs, and keep your glass spray simple and smooth.
Call to action: make your bottle, then adjust it to your home
Mix a 500 ml batch, label it, and try it on one window and one mirror using the two-cloth method. If your home is prone to hard-water spots, switch to distilled water next time before you change anything else. Once you have your own “just right” version, will you keep it as a dedicated glass spray, or will it nudge you towards a whole little cupboard of homemade cleaners tailored to each room?