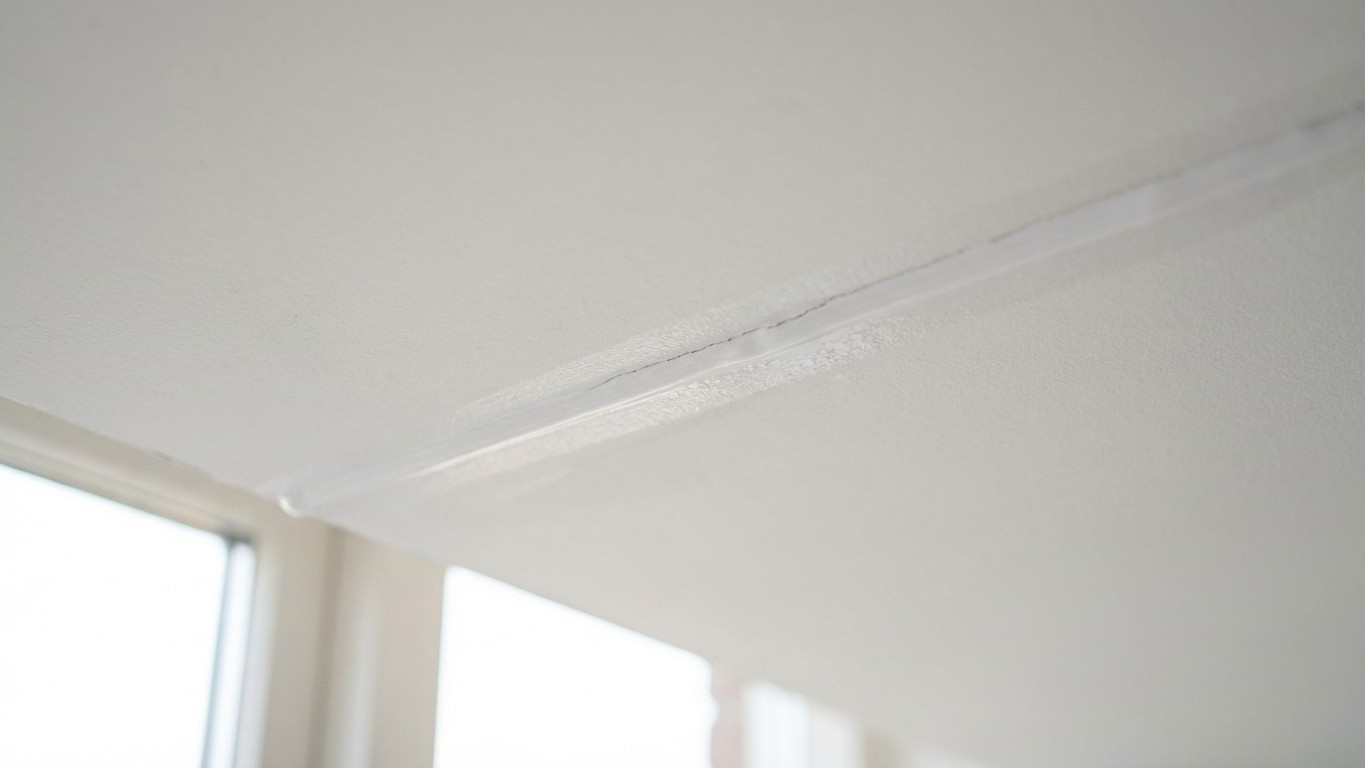
Acrylic caulk on a ceiling crack looks perfectly fine on the day you apply it. Smooth, tidy, barely visible once the paint dries. The trouble announces itself three or four months later, usually after the first proper cold snap of autumn, when that neat little repair has turned into a ragged line that looks worse than the original crack ever did.
This is one of those home repair mistakes that catches out even reasonably experienced decorators, because the logic seems sound at the time. Caulk fills gaps. Caulk is flexible. Caulk is cheap and easy. Every single one of those statements is true, and yet the repair still fails, often dramatically. Understanding why requires knowing something about what ceilings actually do throughout the year.
Key takeaways
- Your ceiling crack isn’t actually broken—it’s breathing with seasonal temperature changes
- Acrylic caulk bonds at three points instead of two, which causes it to tear apart rather than flex
- The proper fix costs almost nothing extra but involves a critical step most DIYers skip entirely
Why ceilings crack in the first place
Most ceiling cracks, particularly the thin hairline variety that run along plasterboard joins or appear in the middle of a room, are caused by seasonal movement. As temperatures drop in autumn, the timber joists above your ceiling contract slightly. When spring warmth returns, they expand again. This cycle repeats year after year, and over time the plaster or plasterboard surface reflects that movement as cracks. Houses built before the 1960s with traditional lime plaster tend to cope slightly better because lime plaster has a degree of natural flex, but even those ceilings eventually show the strain.
The important point here is that a ceiling crack is not a static problem. It opens a fraction in cold weather and closes again in warm weather. A filler material that cannot move with it will simply shear away from one or both edges, sometimes within a single heating season. Rigid fillers like standard Polyfilla or premixed plaster filler are the worst offenders, but acrylic caulk used alone is not much better in this specific location, for reasons that become clear when you look at how caulk actually bonds.
The three-point bonding problem that defeats caulk
Acrylic caulk is designed to bridge a gap between two surfaces and flex as those surfaces move. On a window frame or skirting board, it does exactly that. The caulk bonds to the two sides of the gap and stretches or compresses as needed. The problem with a ceiling crack is that the gap is narrow and the caulk inevitably bonds to three surfaces: the two edges of the crack and the bottom of the crack itself. When the ceiling moves, the caulk cannot flex properly because it is anchored at the base as well as the sides. It tears rather than stretches. Decorators and plasterers call this the three-point bonding failure, and it is why backer rod (a foam strip pressed into deeper joints before sealing) exists as a product in the first place.
Without tape or scrim to bridge the repair, there is also nothing to hold the caulk in place once it loses adhesion on one edge. The crack reopens, often with crumbling caulk hanging from one side, and the painted surface cracks along with it. What was once a 2mm hairline can look like a 5mm canyon after a failed repair, because the surrounding paint and skim coat have been disturbed in the process.
How to do the repair properly
The correct approach costs almost nothing extra and takes perhaps twenty minutes longer than the caulk-only method. Start by opening the crack slightly with a scraper or can opener, enough to remove any loose material. There is no point filling over something that is already unstable. Brush away the dust, then apply a thin coat of PVA diluted with water (roughly one part PVA to four parts water) and let it dry completely. This seals the porous plaster and gives your filler something to grip.
Press a flexible filler into the crack, slightly proud of the surface, and while it is still slightly tacky, press a strip of fine fibreglass mesh tape (sold in most DIY shops on rolls, usually quite inexpensively) firmly over it. Run a filling knife along the tape to embed it, then apply a skim coat of flexible filler over the top. The tape does the structural work. It bridges the crack and distributes any movement across a wider area rather than concentrating stress at one thin line. Once dry, sand lightly and apply a mist coat of watered-down emulsion before your topcoat.
If the crack is in a textured ceiling or artex, matching the texture is the fiddly part, but the underlying repair method is the same. Some people use a damp sponge or a crumpled plastic bag dabbed over fresh filler to approximate a stippled texture, with varying degrees of success.
When a crack signals something more serious
Most ceiling cracks are cosmetic. A crack that runs diagonally from a corner, widens over a short period of time, or is accompanied by doors that stick or floors that feel uneven deserves a proper look from a structural surveyor before you reach for the filler. Structural movement and thermal movement can look similar from below, and a cosmetic repair on top of a structural problem simply delays the moment when that problem becomes impossible to ignore.
One useful rule of thumb from old-school builders: run your finger along the crack. If both sides of the crack are perfectly flush, it is almost certainly thermal movement. If one side sits higher or lower than the other, even by a millimetre, something else may be going on. That slight step suggests differential movement between two sections of the structure, which is worth investigating before painting over.
Hairline cracks also tend to return in exactly the same place every year if the underlying movement has not been addressed. If you have repaired the same crack three winters running, the tape-and-flexible-filler method will manage it far better than any caulk ever will, but the crack will still try to reappear. Painting over it with a good quality flexible ceiling paint (rather than standard matt emulsion) reduces the risk of the topcoat splitting, which is the part people actually notice first.