Laying click vinyl tiles over existing lino is one of those satisfying Saturday projects that can genuinely Transform a kitchen or bathroom without the backache of a full strip-out. The whole job goes smoothly, until it doesn’t. Tiles that rock, edges that won’t lock together properly, and mysterious bumps appearing a week later are almost always caused by skipping a single preparatory step before you lay the very first plank. Do it, and Everything clicks into place. Literally.
Key takeaways
- Old lino looks flat but harbors hidden dips, ridges, and bumps that stress click vinyl joints
- One specific preparation method prevents every common installation problem before it starts
- The solution requires patience and primer—but the payoff is a floor that lasts a decade without issues
Why your lino is probably not as flat as it looks
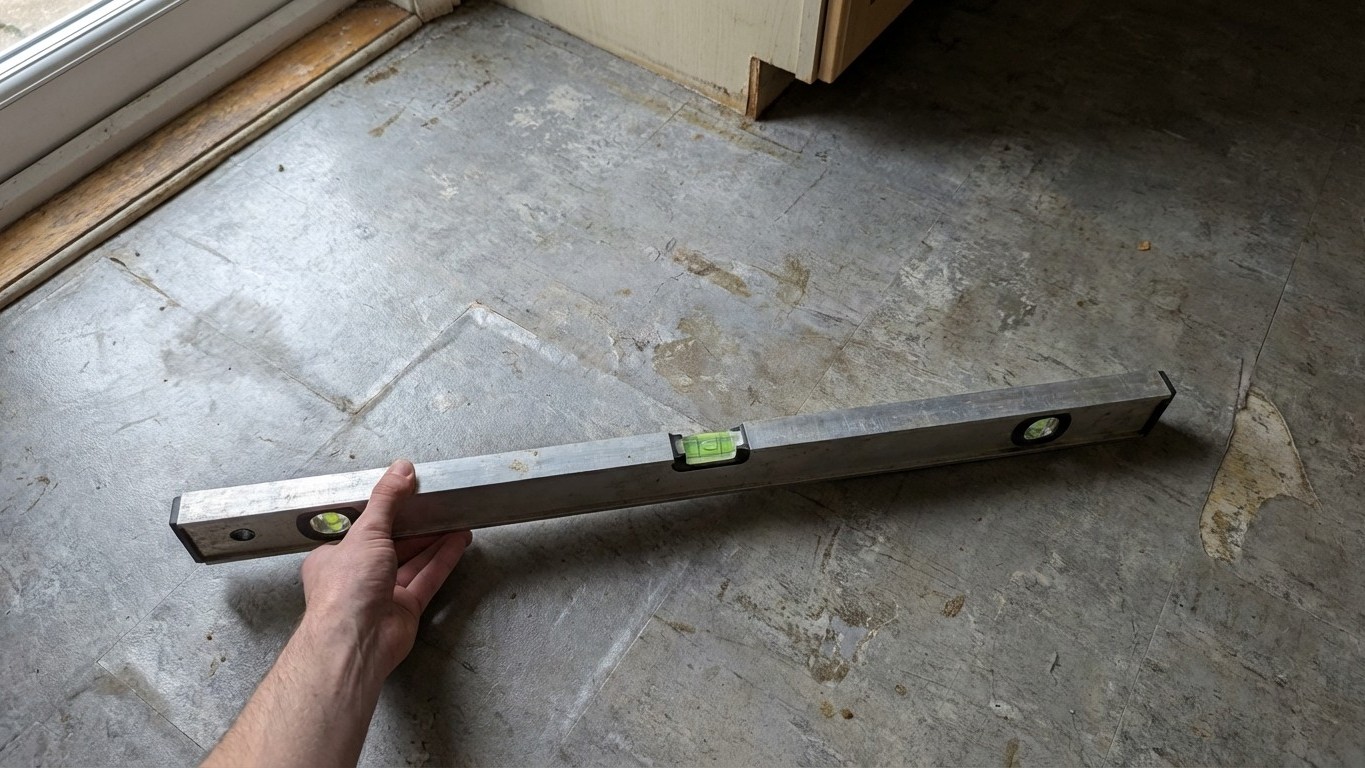
Old lino has a habit of deceiving you. Walk across it and it feels solid enough, but get down on your hands and knees with a long spirit level or a straight piece of timber and a different picture emerges. Decades of foot traffic create subtle dips around the kettle spot and the cooker. Seams in old sheet vinyl curl ever so slightly at the edges. Old adhesive bleeds through in ridges you can feel with your palm but not quite see. Any one of these imperfections, even a lump of just two or three millimetres, is enough to stress the locking joints of click vinyl and cause them to separate over time.
The step that prevents every single one of these problems is self-levelling compound, sometimes called floor leveller or smoothing compound. It is a powder you mix with water to a pourable consistency, tip across the floor, and allow to seek its own level, much like water finding its way to the lowest point in a bowl. Once dry, which typically takes between one and three hours depending on the product and room temperature, you have a surface so flat and smooth it almost looks like a fresh sheet of paper. That is the foundation your click vinyl deserves.
The one step: how to do it properly
Before you even open the bag of levelling compound, spend twenty minutes with a floor scraper going over every inch of the existing lino. Loose edges need pressing back down with a dab of flooring adhesive and a heavy book left on top overnight. Any raised seams should be scraped as flat as possible. Grit, crumbs, and the dusty residue that accumulates under appliances must be swept and vacuumed away, levelling compound will happily bind itself to debris and create the very bumps you are trying to eliminate.
Next, and this is the part most people skip in their eagerness to get going, prime the lino surface. Most self-levelling compounds require a primer coat applied with a brush or roller and left to go tacky. This is not an optional extra. Without it, the compound can dry too quickly because the lino beneath it is non-absorbent, which leads to crazing (those fine surface cracks that look like a dried-up riverbed). The primer seals the deal, so to speak.
Mixing the compound correctly is worth your patience. Add the powder to the water, not water to the powder, the order matters for lump-free results. Use a mixing paddle on a drill if you have one; a stiff whisk and some elbow grease will do if not. You are aiming for something between thick cream and double cream in consistency. Too runny and it will pool in low spots without filling the higher ones; too stiff and it won’t flow freely enough to self-level.
Pour it onto the primed lino starting at the furthest point from the door and work backwards towards the exit. Use a wide smoothing trowel or a gauge rake to guide it into corners and along edges, but resist the urge to over-work it. The compound wants to find its own level; your job is simply to direct it. A bag covering around three square metres poured to a depth of about three millimetres is a reasonable guide for most domestic kitchens and bathrooms, though rooms with significant dips will need a deeper pour.
Once dry, drag the edge of your trowel across the surface. It should glide without catching. Any small lumps or ridges left from trowel marks can be sanded down in thirty seconds with coarse sandpaper. That smooth, pale grey surface is your canvas.
Getting the click vinyl down without drama
With a properly prepared floor beneath you, laying click vinyl becomes a genuinely pleasant job. Acclimatise your planks by leaving them flat in the room for at least 24 hours before laying (48 hours in winter, when rooms can be cold and dry), so the material reaches the ambient temperature and stops expanding or contracting mid-installation.
Start your first row along the longest straight wall, leaving an expansion gap of roughly eight to ten millimetres all around the perimeter. This gap is what allows the whole floor to breathe with seasonal temperature changes without buckling, and it will be hidden under your skirting boards or beading. Stagger the end joints between rows by at least 200mm so the floor looks natural rather than regimented.
Tap planks together gently with a rubber mallet and a tapping block rather than directly striking the locking edge. The locks on click vinyl are strong but not indestructible. Work across the room methodically, and you will find the whole floor assembles more like a satisfying puzzle than a chore.
There is something quietly pleasing about the fact that the most transformative part of this project happens before a single plank goes down. A floor that will last ten years or more, with no lifting edges and no creaking joints, is entirely the result of that grey, unremarkable layer of smoothing compound most people never even see. Sometimes the invisible work is the most important work of all, a principle that probably applies well beyond DIY, if you think about it long enough.