
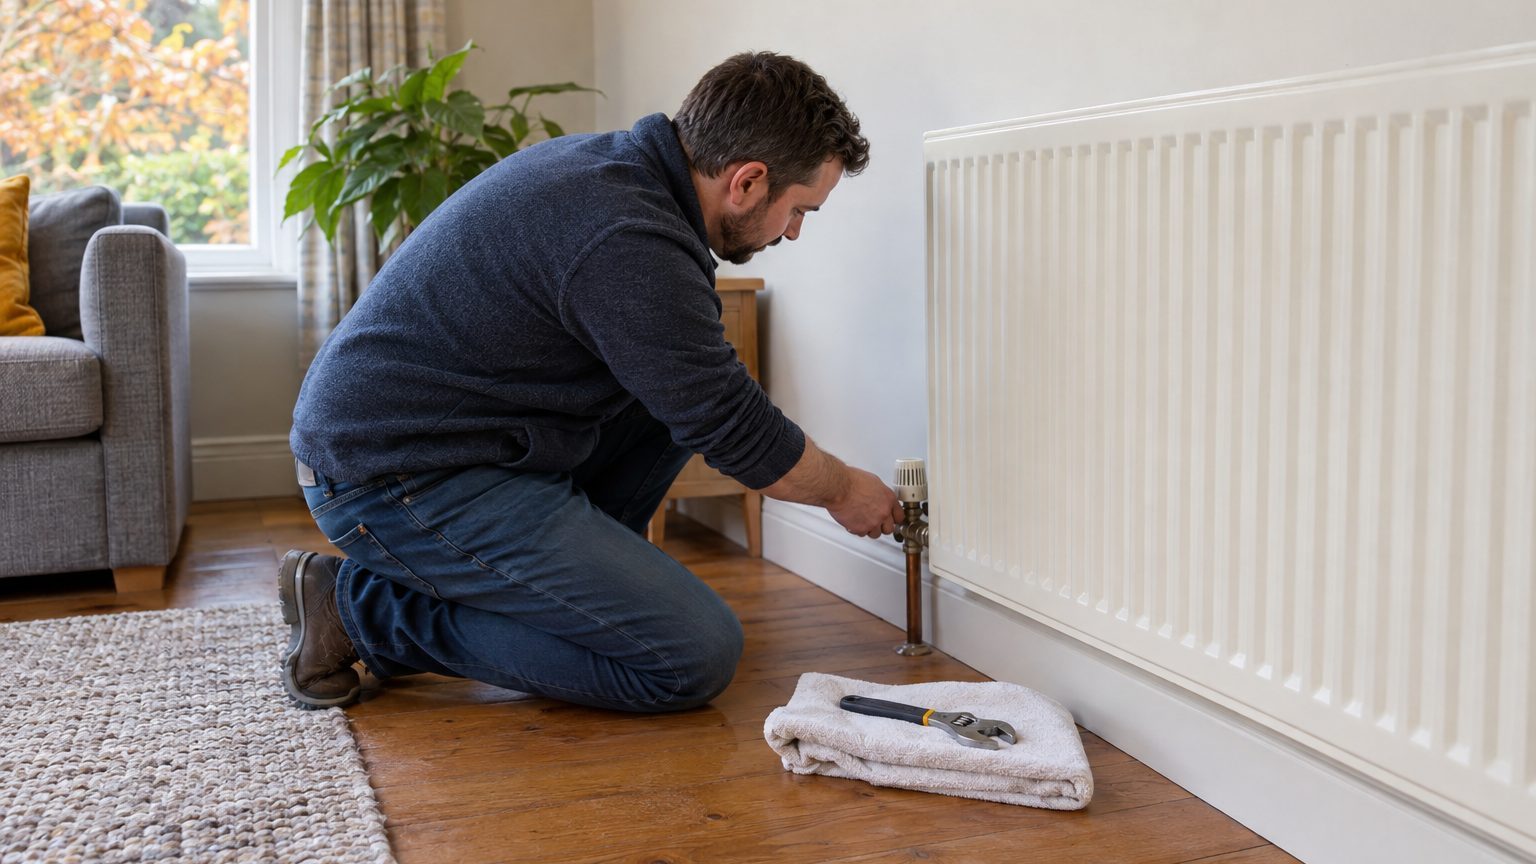
A radiator that weeps from the valve nut can usually be fixed in about ten minutes with a spanner, some PTFE tape or a little packing, and no need to drain the system. The trick is working out which of two joints is actually leaking, because they look almost identical when wet.
Start there.
- The gland nut is the smaller nut directly beneath the valve head, and it seals the moving spindle.
- The tail nut is the larger nut near the radiator body, and it clamps the valve to the radiator.
- A gland nut leak is usually fixed by tightening it a quarter turn clockwise.
Finding the real source of the drip
A radiator valve has two nuts that tend to get confused. The larger one nearest the radiator body is the tail nut (sometimes called the union nut), which clamps the valve to the radiator’s tail piece. The smaller one higher up, directly beneath the valve head or the plastic cap, is the gland nut, and it seals the spindle that moves when you turn the valve.
Water runs downhill, so a leak from the gland nut will trickle down and make the lower joint look guilty. Wipe everything bone dry with kitchen roll, then wrap a fresh piece of dry tissue around each joint separately. Wait fifteen to twenty minutes with the heating on, since hot water expands and shows up leaks that cold water hides. The tissue that darkens first gives the game away.
Check the pipe joint at the bottom as well, the one where the copper pipe enters the valve body. That is a compression fitting, and it can weep too. If the tissue there is damp, you have a third suspect.
Put a shallow dish or an old towel under the valve while you investigate. Floorboards and carpets dislike surprises.
Curing a leak from the gland nut
This is the commonest culprit and the easiest to cure. Inside the gland nut sits a small packing, either a rubber O-ring or a bit of fibre, and over the years it dries out and stops gripping the spindle.
Turn the valve fully off first, using the head or the plastic cap, so the flow is shut and there is less water pressing on the joint. Then take a small adjustable spanner and nip the gland nut a quarter turn clockwise. Just a quarter. Overtightening can crush the packing or make the spindle stiff, and then you have swapped a leak for a seized valve.
Dry it and watch again for ten minutes. If the dripping slows or stops, you are done, though keep an eye on it over the next day.
If tightening fails, the packing needs replacing, and you can do that without draining anything. With the valve shut off at the head, undo the gland nut slowly (expect a very small dribble, no more), lift it clear and wind a few turns of PTFE tape or a strand of proper valve packing round the spindle, beneath the nut. Refit and nip it up gently. Plumbers have done this for generations, and a reel of PTFE tape costs very little in any DIY shop.
Some modern valves have a replaceable cartridge instead. If yours is that type, an exact-match replacement is the better route, so take the old one along when you shop.
When the tail nut or pipe joint is to blame
A leak at the large tail nut is a different matter, because that joint holds water on the radiator side. The seal here is usually a fibre washer or PTFE wrap inside the union. Try tightening first, using one spanner on the valve body to hold it steady and a second on the nut. Holding the body stops you twisting the pipe, which is how a minor weep turns into a burst joint.
Nip it an eighth to a quarter turn, no more.
If that does not work, the fix involves taking the joint apart, and that does need the radiator isolated. Fortunately you can do this without draining the whole system. Close the valve at the other end of the radiator as well (the lockshield valve, usually under a plastic cap needing a small spanner or Allen key). Make a note of how many turns it takes to close, so you can reopen it to the same position and keep your heating balanced. With both ends shut, the radiator is isolated and only holds its own water, roughly a few litres for a standard single panel.
Have towels and a bowl to hand, then loosen the tail nut slowly. Rewrap the threads with PTFE tape (about three or four turns, wound clockwise as you look at the thread end) and refit. Then crack open the bleed valve a little at the top to let the radiator pressure equalise if water stops flowing, and finally reopen both valves.
Once the radiator is back in service, bleed it. Air always sneaks in during a job like this, and a radiator that is cold at the top will only sulk.
Checking pressure and knowing when to stop
After any repair, glance at the boiler pressure gauge if you have a sealed system. Most run between 1 and 1.5 bar when cold, and a repair that lets out a cupful of water can nudge it lower. Your boiler manual will show how to top it up through the filling loop, which is a gentle job.
If the drip returns within a day or two, think about the valve itself. Old valves with corroded bodies or pitted spindles rarely recover, and a replacement is the honest solution. That one does mean draining the radiator or the system, or using a freezing kit, which is a job for a Gas Safe registered engineer if your heating is gas-fired, or at least a qualified plumber if you are not confident. Plumbing is forgiving until it isn’t.
A final nuance worth knowing: a leak that appears only when the heating is on and vanishes when cold is almost always a thermal expansion problem at a joint that is slightly loose, rather than a failed part. So if you test a repair, test it hot, because a joint that stays dry on a cold radiator may still weep once the water reaches 60 or 70 degrees.