
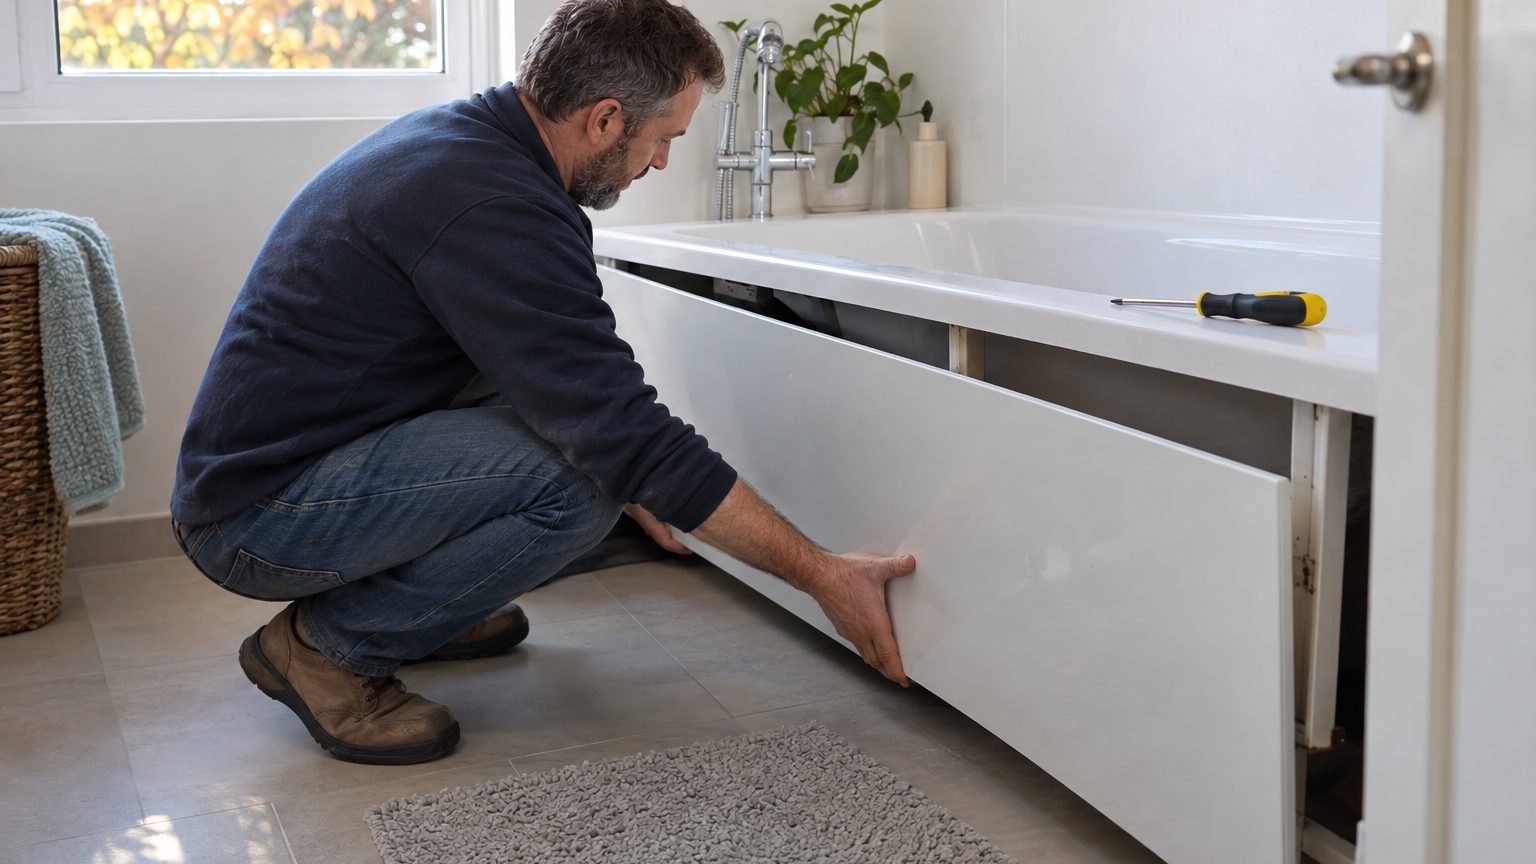
Most plastic bath panels come off with nothing more than a screwdriver, a bit of patience and a gentle hand. The cracking usually happens because someone yanks at one corner while a hidden screw or clip is still holding the opposite end.
So start by finding out how yours is fixed.
- Most plastic bath panels are held by visible screws, pushed-on clips, or sealant along the top edge.
- Hidden screws often sit behind small caps or trim at the panel ends.
- Overtightening screws is the second most common cause of cracked panels.
Work out what is holding the panel on
There are three common methods, and a quick look along the edges will tell you which you have. Some panels are held by visible screws, often with small plastic caps in the same colour as the panel. Others are simply pushed onto a timber frame or onto clips, with no screws at all. The third type is held by a strip of sealant or adhesive along the top edge against the bath rim, sometimes with a magnetic catch at the bottom.
Run your fingers along the top edge where the panel meets the bath. A bead of silicone will feel slightly rubbery and may be discoloured.
Check the ends too, where the panel meets the wall. Many panels sit inside a thin plastic or aluminium trim, and the screws are often tucked behind it or under tiny caps you can prise out with a fingernail or a butter knife. I have lost count of the times I have heard someone say they spent an hour tugging at a panel with no screws, when there were two hiding under cream-coloured caps.
Taking it off without a crack
Gather a few things first: a flat-bladed screwdriver, a Phillips screwdriver, a sharp craft knife, a plastic scraper or an old plastic card, and a hairdryer. Lay an old towel on the floor, because water and bits of old sealant tend to appear from nowhere.
If there is sealant, cut it first.
Run the craft knife slowly along the line where the panel meets the bath rim and, if there is a bead, along the wall edges as well. Keep the blade shallow and angled slightly away from the bath, as acrylic baths scratch more easily than you would think. If the sealant is old and stubborn, warm it for a minute or so with a hairdryer on a low setting, held about 15cm away. Warmth softens both the sealant and the plastic slightly, which makes everything a little more forgiving.
Next, remove any visible screws and keep them in a saucer or an old jar lid. Then slide the plastic scraper or card into the gap at one end and work gently along, prising a little at a time rather than forcing one spot. Plastic panels flex, but only so far, and a sharp bend near a screw hole is where the split starts. If it will not budge, there is nearly always another fixing you have missed.
Where panels are clipped to the frame, you generally lift the bottom edge first, then lift the whole panel slightly and pull it forward. Some are hooked over a bottom rail and need that upward nudge to release. Never twist the panel, and never lever against the middle, since the centre is the weakest part.
Cold weather matters more than people expect. A panel in an unheated bathroom in January is stiffer and more brittle, so warming the room, or the panel itself with that hairdryer, can save you a replacement.
Dealing with what you find behind it
Once the panel is off, you will probably see a timber frame, some dust and perhaps a few lost hair grips. It is also the moment to check for damp. Press the timber with a screwdriver tip; if it feels soft or crumbly, there has been a slow leak or persistent condensation, and that deserves fixing before anything goes back.
Look at the bath’s feet and the pipework too. A drip from the waste or overflow connection can show up as a dark stain on the floor or a rusty mark on a fitting. Mopping out the space and letting it dry for a day costs nothing and prevents mould from taking hold.
A tidy-up now pays off later.
Wipe the panel itself with warm water and a little washing-up liquid, and clean any old sealant residue from the bath rim. Silicone remover products exist for this, but a plastic scraper and some patience usually do the job. Fresh sealant will not stick well to old silicone, so this step is worth doing properly.
Putting it back so it stays
Refitting is removal in reverse, with a couple of small refinements. Offer the panel up dry first, without any sealant, to check it still sits square and that every clip or screw hole lines up. If the panel was always a slightly loose fit, a few strips of thin self-adhesive foam on the frame can stop it rattling.
Replace the screws by hand, or with the driver on its lowest torque setting. Overtightening is the second great cause of cracked panels, because the plastic around the hole is thin and has nowhere to go. Stop when the screw head sits snug against the panel, not when it bites in.
For the seal, use a sanitary silicone sealant, which is made to resist mould in damp rooms. Apply a thin, continuous bead along the top edge, then smooth it with a finger dipped in soapy water. Masking tape either side of the joint gives you a neat, straight line, and you peel it away before the silicone skins over.
Leave the sealant to cure for the time stated on the cartridge, commonly 24 hours, before running a bath. Skipping that wait is the most common reason a fresh seal fails within weeks.
If the panel does crack, a small split near an edge can sometimes be rescued. Clean and dry the area, then apply a thin line of strong plastic-bonding adhesive along the back of the crack, and hold it flat under a weight overnight. It will not be invisible, but it will be sound enough to go back against the wall, and a repaired panel is cheaper than a new one. One practical point: panels are cut to specific lengths and heights, so if you do need a replacement, measure the old one carefully, and take the measurements with you to the shop.