Bubbles. Peeling corners. That slow-motion horror of watching a freshly hung strip start to lift away from a Victorian chimney breast by teatime. If you’ve ever papered an old house and ended up with a wall that looks more like a topographical map than a smart sitting room, the culprit is almost certainly the plaster itself, and one simple overnight step could have saved the whole job.
Key takeaways
- Old plaster absorbs paste moisture at wildly different rates, creating invisible pockets of air that become visible bubbles
- A single overnight application of diluted paste (sizing) transforms how your walls accept wallpaper adhesive
- The wait matters more than the product—rushing to hang paper over damp size defeats the entire purpose
Why old walls behave so badly with wallpaper paste
Older properties, particularly those built before the 1970s, have plaster walls with a thirst that modern drylining simply doesn’t possess. Lime-based plaster, sand-and-cement render, even the gypsum coats applied in the post-war decades, they all share a tendency to suck moisture out of wallpaper paste with remarkable speed. The paste dries before the paper has had a chance to bond properly, which creates pockets of air trapped between the paper and the wall. Hello, bubbles.
There’s something else at play too. Old plaster is often uneven in its absorbency. One patch might be bone dry and powdery, practically drinking your paste on contact, while the area six inches to the left, where someone once plastered over a damp patch years ago, sits dense and almost waxy. Paste applied over that inconsistency behaves differently across the same strip of wallpaper, causing it to adhere in some places, lift in others, and generally make you question every decorating decision you’ve ever made.
The overnight trick that changes everything
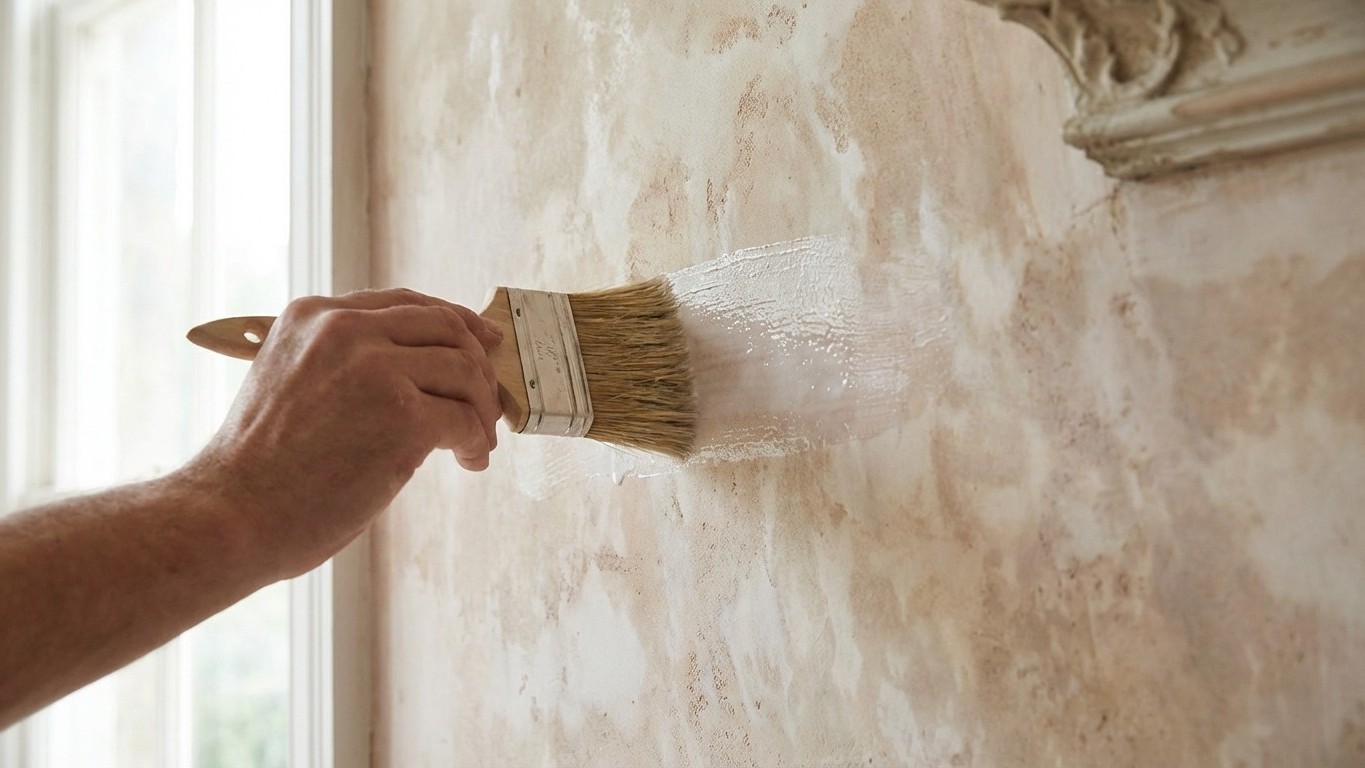
The solution is size, and applying it the evening before you plan to hang a single strip. Sizing is, quite simply, a diluted paste solution painted over the bare wall to seal the surface and even out all that patchy absorbency. You can buy dedicated sizing products, or you can dilute your own wallpaper paste to a thinner consistency than you’d use for hanging, typically around one part paste to four or five parts water, though do follow the instructions on your particular paste as they vary.
The overnight wait is the part most people skip, and it really is the crux of it. Freshly applied size needs time to dry fully and form that sealed layer. If you hang paper over damp size, you’ve added yet another wet layer to an already wet surface, and the paste in your size can reactivate, weakening the bond you’re trying to create. Give it a full night, eight hours at minimum, and you’ll come back to a wall that feels slightly smooth and slick to the touch rather than chalky and absorbent. That transformation is modest but the difference in your finished result is anything but.
My own grandmother, who papered every room in her 1930s terrace at least twice over the decades, never once started a wallpapering job without spending the previous evening with a bucket of thin paste and a wide brush. She called it “feeding the walls.” It struck me as fussy when I was young. It strikes me as wisdom now.
Getting the preparation right before you even reach for the paste brush
Sizing works best on a clean, stable surface. Old houses often have layers of history on their walls, previous wallpaper, flaking emulsion, patches of old gloss paint, or the occasional patch repair done in a slightly different plaster mix. All of that needs addressing first, or your size is simply sealing in the problem rather than solving it.
Any loose or flaking material should be scraped back and the edges feathered smooth. Patches of powdery plaster can be consolidated with a diluted PVA solution (one part PVA to five parts water works well here) applied a day before sizing, giving it time to harden up properly. If there are glossy patches from old paint, a light sand with medium-grit paper will give the size something to grip. None of this is time-consuming once you’re in the habit of it, and the whole sequence, PVA consolidation one day, sizing the next, hanging on the third day, turns what feels like a lengthy project into a genuinely reliable one.
Temperature matters more than people think. Cold, damp rooms in old houses slow drying times considerably. If you’re papering in autumn or winter, put the heating on the evening you size, and leave it running at a moderate level while the size dries. A chilly, humid room overnight can leave size that feels dry on the surface but remains slightly tacky underneath, which rather defeats the purpose.
A few final thoughts on paste, paper and patience
Heavy papers, particularly the embossed vinyls and thick duplex papers that work so well in period homes, need a paste rated for their weight. Using a light-duty paste on a heavy paper, even over a perfectly sized wall, will still let you down eventually. Check the paste packaging and match it to your paper type.
Once you do start hanging, soaking time for paste-the-paper varieties matters just as much as wall preparation. Under-soaked paper won’t expand fully before hanging, and you’ll get bubbles forming as it relaxes on the wall. Over-soaked paper becomes floppy and tears at seams. Most traditional wallpapers want between two and five minutes of soaking depending on thickness, fold them paste-to-paste, loosely concertina’d on your pasting table, and let them rest while you apply paste to the next strip.
There’s a particular satisfaction in papering an old house well. These walls have stories in them, layers of other people’s choices, and getting the Preparation right feels like a small act of respect for the building itself. The overnight sizing trick isn’t magic, exactly. It’s just the patience that old houses seem to ask for, and quietly reward.