Painting a room without tape sounds like a recipe for disaster, yet professional decorators in Japan have long used a freehand edging technique that produces lines so crisp you’d swear a machine had done the work. The secret lies not in some mystical talent, but in a specific brush angle, a particular wrist movement, and a surprisingly forgiving understanding of how emulsion paint Actually behaves on a surface.
Key takeaways
- Professional decorators have been ditching tape for decades—here’s what they know that you don’t
- The secret involves a counterintuitive brush angle and a movement so precise it comes entirely from your wrist
- Modern paint has a hidden property that actually works in your favor when you understand how to use it
Why Masking Tape Is Slowing You Down
Most of us have been there: an entire Saturday morning spent carefully pressing strips of blue tape along skirting boards, door frames and ceiling edges, only to peel it off and find the paint has bled underneath in several places anyway. Then there’s the sticky residue, the occasional chunk of old paint that comes away with the tape, and the sneaking suspicion that you’ve spent more time preparing than Actually painting.
Tape has its place, certainly. But for those long straight edges where ceiling meets wall, or wall meets woodwork, it creates a false sense of security. The real problem is that tape forces you to paint up to a line rather than along one, which is a fundamentally different motor skill. Japanese interior painters, working within a tradition that prizes clean lines in both woodwork and wall finishes, developed a freehand approach that trains your hand to follow a line naturally. Once you’ve done it properly a few times, tape starts to feel like training wheels you simply don’t need.
The Technique Itself: Loading, Angle, and the Slow Draw
The brush matters here. You want a good quality angled sash brush, sometimes called a cutting-in brush, with bristles that come to a clean chisel edge. Cheap brushes with splayed or uneven bristles will fight you every step of the way, so this is genuinely not the place to economise. You don’t need to spend a fortune, but do choose one that feels balanced in your hand and holds its shape when you press gently against your palm.
Loading the brush correctly is where most people go wrong. You’re aiming for what decorators call a “medium load”: dip the bristles about a third of the way in, then wipe one side only against the rim of the tin. The loaded side faces outward, toward the edge you’re cutting in. This asymmetric loading is the whole game. It means the paint is concentrated exactly where you need it, with no excess to bleed outward.
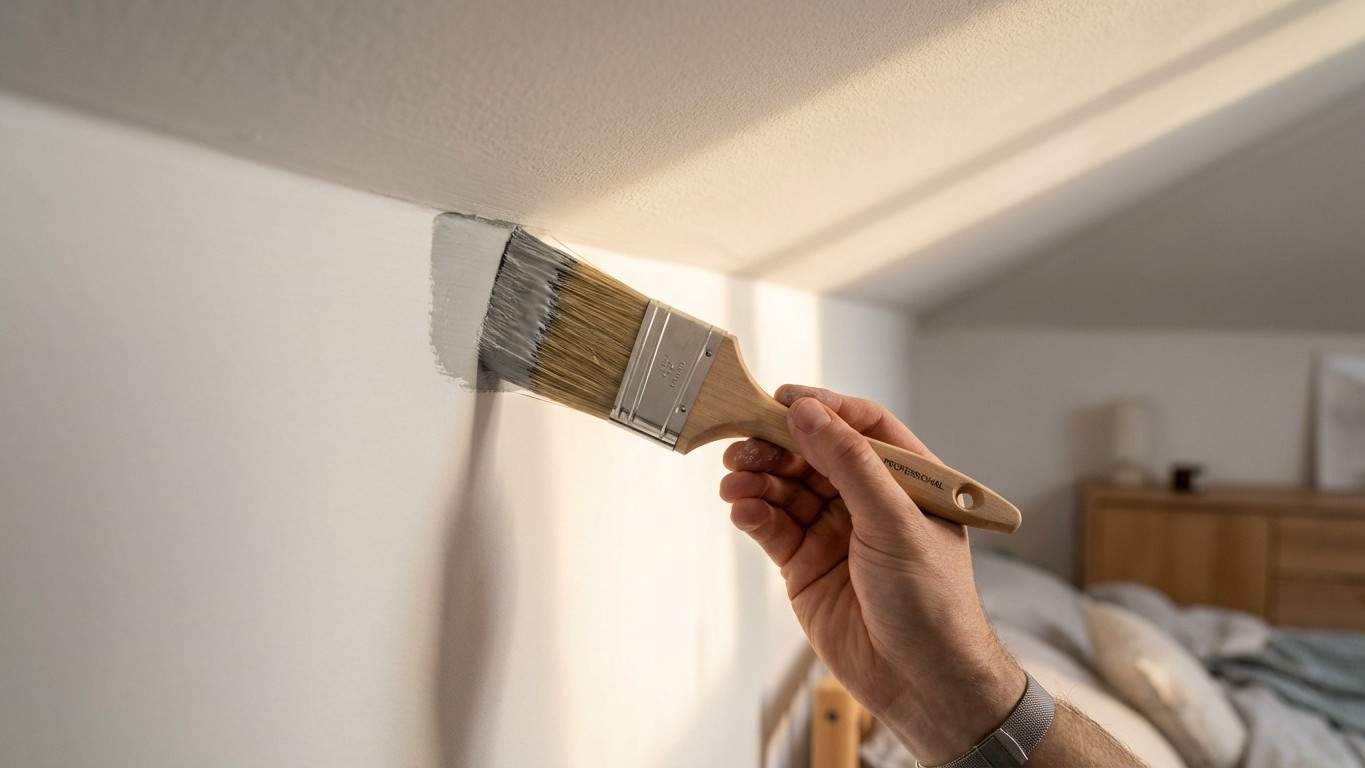
Now the angle. Hold the brush at roughly 45 degrees to the surface, with the chisel edge of the bristles pointing toward your cutting line. Begin the stroke about a centimetre away from the line itself. This is counterintuitive, but bear with it: the first inch of any stroke is your control stroke, where you settle your wrist. Move slowly, almost comically slowly the first time, drawing the bristle edge toward the line as you travel along it. Your wrist rolls slightly inward as you go, bringing the paint right up to the boundary without crossing it.
The Japanese refinement to this technique involves what translates roughly as “resting the body,” meaning you brace your painting arm against your torso or your spare hand against the wall, creating a physical anchor for the movement. You are not painting with your shoulder. The motion comes entirely from the wrist and fingers, which gives you far more precision over short distances than any large arm sweep could.
Where Emulsion Paint Works in Your Favour
Here’s the part that genuinely surprised me when I first read about this approach: modern water-based emulsions have a slight surface tension that actually helps you. A properly loaded brush, pressed lightly to a surface, will not immediately flood outward. The paint wants to stay where the bristles deposit it, at least for two or three seconds. That tiny window is your friend.
If you do go slightly over your line, all is not lost. A barely damp cloth (not wet, just damp) wrapped around your fingertip and drawn along the edge immediately after a stroke will correct minor transgressions neatly. This is the “rescue wipe,” and doing it confidently and quickly, before the paint begins to set, means the occasional wobble simply disappears. Tape offers no such forgiveness: a bleed under tape is there for good once you’ve painted over it.
Practice matters, obviously. Most professional decorators suggest running your first few attempts on a piece of lining paper pinned to a board before going anywhere near a freshly prepared wall. Spend twenty minutes on paper and you’ll save yourself two hours of anxiety on the actual job.
Making It Work in a Typical British Home
British homes present a particular challenge with this technique because so many older properties have slightly uneven plaster edges, cornicing that has been painted over dozens of times, or skirting boards that aren’t quite straight. The good news is that a freehand line, being organic rather than mechanical, often sits more naturally against an imperfect surface than a tape line does. Tape follows the physical edge of a surface rigidly; your brush can compensate gently for undulations as you go.
Lighting is your greatest ally and your harshest critic here. Work with a strong directional light, an angled lamp or even a head torch, shining across the surface you’re cutting in against. The light will catch any paint that has strayed, and you can correct it while it’s still workable. Painting in the flat overhead light of a standard ceiling bulb means you won’t see your errors until they’re dry, which rather defeats the purpose.
The broader question this technique raises is an interesting one: how many other DIY shortcuts are we following out of habit rather than genuine necessity? A roll of masking tape is cheap, familiar, and reassuring in the way that all tools with a clear and obvious purpose tend to be. But sometimes the most efficient path runs straight through the thing we assumed we couldn’t do without.