Wall cracks have a maddening habit of coming back. You fill them, you paint over them, you step back and admire your work, and six months later, there they are again, grinning at you from across the room. The reason most repairs fail isn’t laziness or bad filler; it’s that a flat-filled crack gives the patching compound almost nothing to grip. The inverted V technique Changes that entirely, and once you’ve tried it, you’ll never go back to the old way.
Key takeaways
- Why your previous crack repairs keep failing—and it’s not what you think
- The one counterintuitive first step that changes everything about how filler bonds
- When a crack signals something far more serious than cosmetic damage
Why Standard Repairs Keep Failing
Most of us were taught to simply press filler into a crack and smooth it flat. Tidy enough, certainly. But what you’ve actually created is a thin wedge of material sitting in a shallow groove, bonded only along its edges. As the wall expands and contracts with seasonal temperature Changes, that wedge works loose from the inside out. The crack re-emerges, often looking worse than before because now there’s old filler crumbling at the edges too.
Plaster and render are living materials in a sense, they respond to humidity, heat, the gentle settling of a building over decades. A Victorian terrace or a 1970s semi-detached will move, however imperceptibly. Any repair that doesn’t account for that movement is only buying time. The inverted V technique works by creating a dovetail-shaped channel that actually locks the filler in place, giving the repair mechanical strength rather than relying on adhesion alone.
The Inverted V Technique, Step by Step
You’ll need a few basic tools: a cold chisel or a dedicated plugging chisel, a club hammer, a stiff-bristled brush, a spray bottle of water, and your chosen filler. For cracks up to about 5mm wide, a good quality ready-mixed filler works well. For anything wider or deeper, a powder-based filler mixed to a firm consistency will give a stronger result.
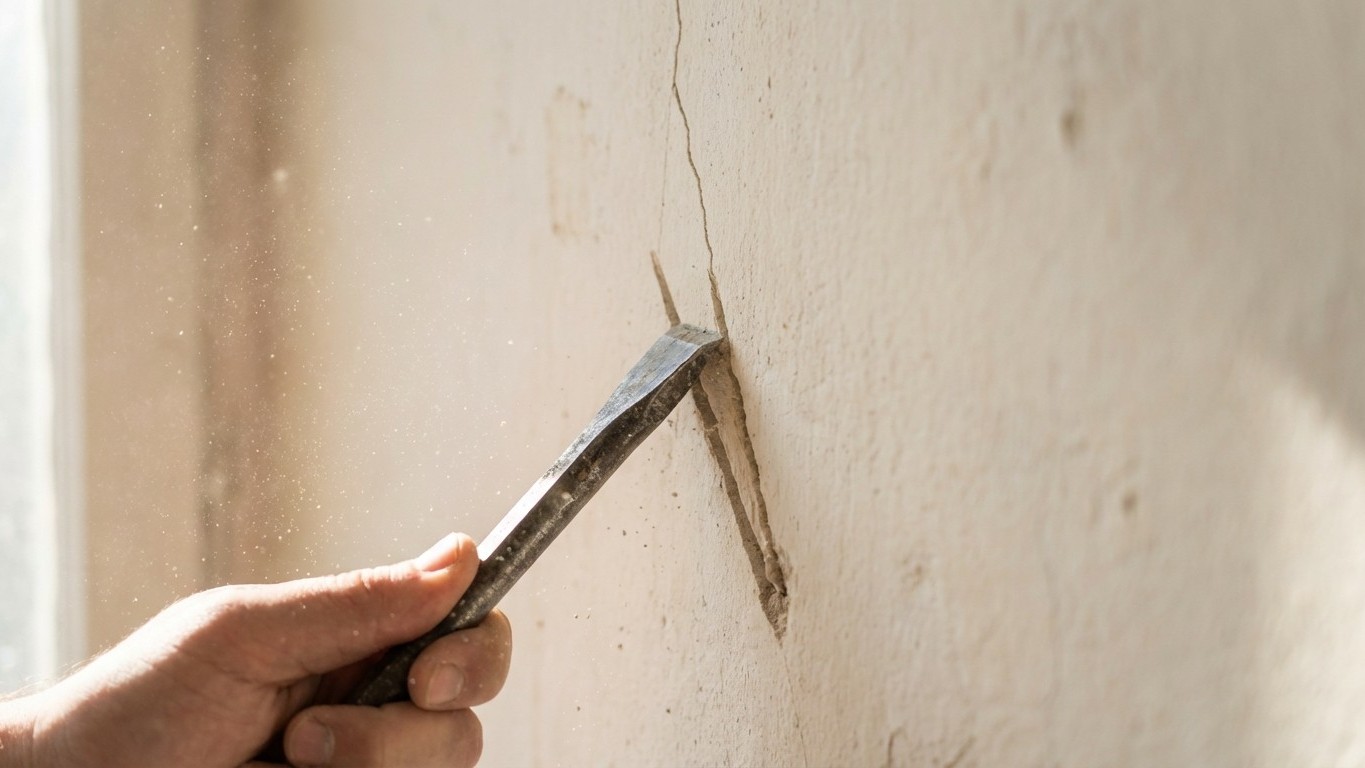
Start by widening the crack deliberately, which feels counterintuitive, I know. Using your chisel held at an angle (roughly 45 degrees to the wall surface), undercut both sides of the crack so that the opening at the back of the channel is wider than the opening at the surface. When you look at the cross-section, it should resemble an inverted V or a dovetail joint. The surface gap might be 4mm, but the channel behind it should be 8 to 10mm wide. This is the heart of the technique.
Once you’ve shaped the channel, brush out every last bit of loose dust and debris. This step is non-negotiable. Filler cannot bond to a dusty surface, and skipping this is the single most common reason even well-prepared repairs fail. A dry paintbrush works, but a quick blast from a bicycle pump or compressed air is even better. Then dampen the channel with your spray bottle, not soaking wet, just moistened. This stops the wall from drawing moisture out of the filler too quickly, which would weaken it as it cures.
Press your filler firmly into the channel, working it well into the back of the undercut. For deeper cracks, build up in layers of no more than 5mm at a time, allowing each layer to firm up before adding the next. Patience here pays dividends. Once you’ve slightly overfilled the crack, leave it to cure fully (check the manufacturer’s guidance, but most ready-mixed fillers need at least two hours, often longer in cool or damp conditions). Sand back with fine-grit paper to a perfectly flush finish, and you’re ready to prime and paint.
Knowing When a Crack Is More Than Cosmetic
The inverted V technique handles the vast majority of hairline and stable cracks you’ll encounter in a typical British home. However, there are situations where filler and elbow grease simply aren’t the right answer. Diagonal cracks running from the corners of windows or doors, cracks that have measurably widened over a period of weeks, or any crack accompanied by sticking doors and windows could signal subsidence or structural movement. A crack you can fit a 50p coin into is worth taking seriously.
A useful thing to do before starting any repair is to monitor the crack first. Stick a small paper tell-tale (a strip of paper glued firmly across the crack) and check it weekly for a month. If it remains intact and unbroken, the crack is stable and safe to fill. If it tears, the movement is ongoing and the underlying cause needs investigation before cosmetic repairs make any sense at all.
The Right Filler for the Right Wall
Not all fillers are equal, and using the wrong one is a surprisingly common mistake. Ready-mixed fillers are convenient, but they shrink slightly as they dry, which means a deep crack filled in one go will develop a sunken centre. Powder-based fillers mixed to a stiff paste shrink considerably less and are far better suited to deeper repairs. For external walls, always use an exterior-grade filler designed to withstand frost and rain; standard interior filler will absorb moisture, expand, and drop out within a season.
If the crack runs through old lime plaster (common in pre-1950s homes), avoid modern gypsum-based fillers where possible. Lime plaster needs to breathe and flex slightly, and a rigid modern filler can cause the surrounding plaster to lift. A lime-based repair mortar, mixed to a soft consistency, is a far more sympathetic match for the original material.
There’s something quietly satisfying about a repair done properly rather than just quickly. The inverted V technique takes perhaps ten minutes longer than a straight fill, but the result holds for years rather than months. A wall that stays smooth and crack-free is, in its modest way, a small act of care for the home around you, and rather a pleasant thing to have achieved on a Saturday afternoon.