Three weeks away last summer, and I came home expecting carnage. Shrivelled petunias, crispy herbs, the lot. Instead, my window boxes were positively lush, all thanks to a length of old garden hose I’d cut up on the Kitchen floor, a cheap timer from the hardware shop, and about an afternoon’s worth of tinkering. If you’ve ever cancelled a holiday because you couldn’t bear to come home to dead plants, read on.
Key takeaways
- A budget gardener cracked the code to holiday-proof window boxes with scrap materials and minimal cost
- The secret involves old hose, tiny holes, and a timer that transforms how plants absorb water
- Even neighbours are now copying this simple system after witnessing the results
The problem with window boxes and holidays
Window boxes are genuinely the neediest of all container plants. Perched up high, exposed to wind, with barely a handful of compost to hold moisture, they can dry out completely within a day in warm weather. Hanging baskets are the same. Most people either rope in a neighbour (who invariably forgets) or accept that their summer display is doomed the moment they lock the front door. Neither option is particularly satisfying, is it?
The commercial drip irrigation kits you see in garden centres do work, but they often cost upwards of £25 to £40 once you’ve bought enough fittings for multiple boxes. My system cost me the price of a timer and used materials I already had in the shed. The results were, frankly, better than I’d hoped.
What you’ll actually need
The shopping list is short. You need a basic outdoor tap timer, the kind with a simple dial or digital display that you screw onto your garden tap. These can be found at most hardware shops or garden centres for somewhere between £8 and £15. Mine cost £9 and runs on a single AA battery. You’ll also need a length of old garden hose (or new, if you haven’t got any), a thin drill bit (around 1.5mm to 2mm works well), and some small rubber grommets or, in a pinch, a roll of plumber’s PTFE tape.
The rest, cable ties, small stakes to hold the hose in place, a brick or heavy pot to weigh down any trailing sections — you almost certainly have already. Total spend for me, counting nothing I’d bought specifically for this project, was £9. That’s it.
Building the drip line, step by step
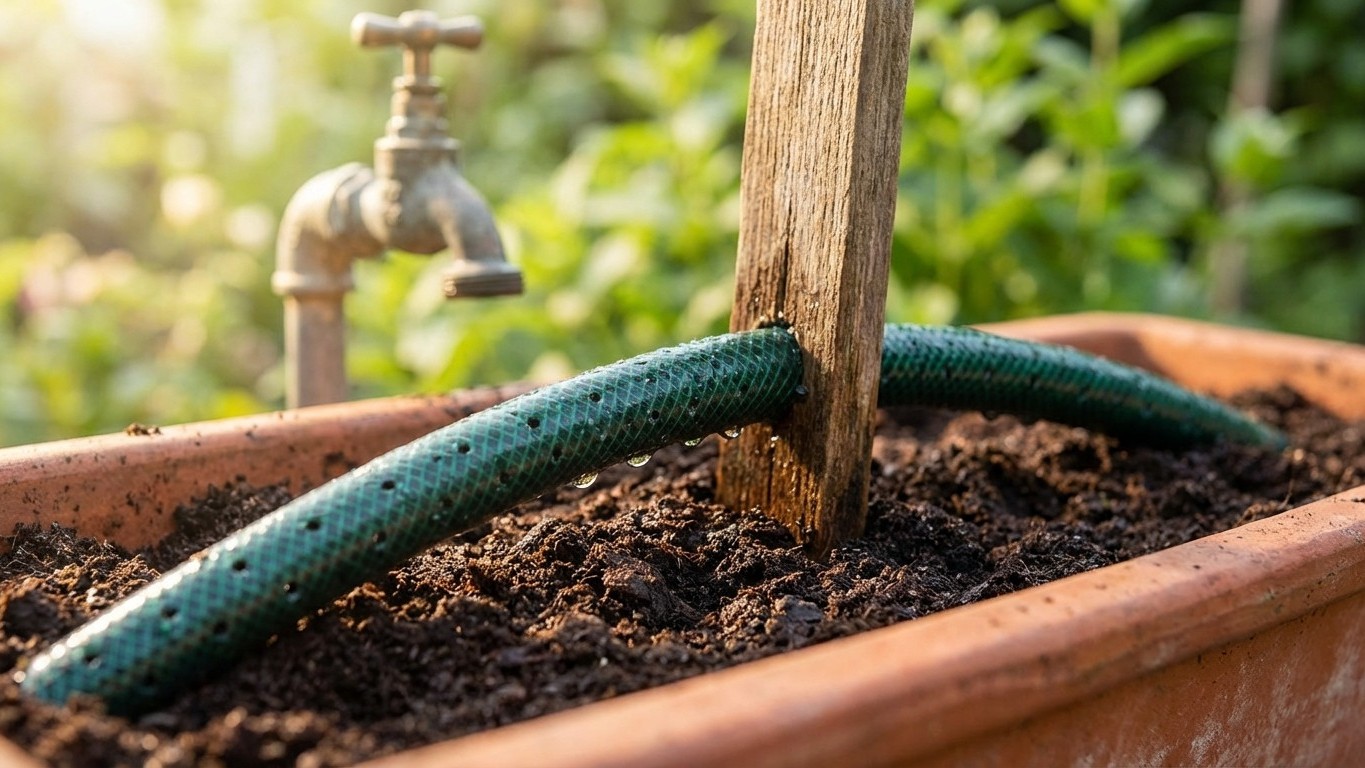
The basic principle is simple: water trickles from a main hose through tiny holes directly into the compost, slowly and consistently, rather than being dumped on top all at once. Plants absorb this far more efficiently, and you waste almost nothing to evaporation.
Start by measuring the distance from your outdoor tap to each window box. Cut a length of hose to serve as your main line. Then, for each box, cut a shorter “feeder” length of hose, roughly 30 to 40 centimetres, that will sit inside the compost itself.
Take your drill (a hand drill is perfectly fine) and make two or three small holes along each feeder piece, spacing them about ten centimetres apart. The holes should be small enough that water drips rather than streams, test over a bucket before you commit. Connect the feeder lengths to the main hose using standard hose connectors, or simply push one end of the feeder inside the main hose and seal the joint with PTFE tape wound tightly several times around. It’s not elegant, but it holds.
Push the feeder hoses into the compost of each window box, holes facing downward. Stake them in place if needed. Seal the far end of the main hose by folding it back on itself and securing with a cable tie, this forces water to travel all the way along the line rather than simply rushing out of the nearest opening.
Screw the timer onto your outdoor tap, attach the main hose, and set it to water for about ten Minutes once a day, ideally in the early morning. Ten minutes sounds brief, but with a slow drip directly into the compost, it’s ample. You can always adjust after a day or two of observation before you leave.
A few things I learned the slightly soggy way
Pressure matters more than you’d think. If your tap pressure is high, even tiny holes will deliver more water than you expect. Test the whole system for at least two full days before you travel, watching to make sure compost is moist but not waterlogged. Saturated roots in a sealed box cause rot just as surely as drought does.
Shade cloths are a worthwhile companion to any irrigation system. Draping lightweight horticultural fleece over boxes during a heatwave cuts moisture loss dramatically. I didn’t bother with this my first time and the system just barely kept up during a particularly hot week in August. With even a thin layer of fleece, I suspect the plants would have thrived rather than merely survived.
If you have multiple boxes at different heights, bear in mind that gravity affects flow. Higher boxes will receive slightly less pressure than lower ones. Slightly larger holes in the feeder hoses for higher boxes compensates for this well enough for a DIY system.
One neighbour who saw my setup when she came to collect the spare key looked at the tangle of hose and cable ties and pronounced it “a right dogs’ dinner.” She texted me three weeks later to ask how I’d done it, because her own pots had died while she was in Portugal. I sent her this explanation. She’s now running her own version, having spent precisely £11 on a slightly fancier timer.
There’s something rather pleasing about the fact that a problem people have wrestled with for decades, keeping potted plants alive during a British summer holiday, can be solved with a drill, some old hose, and less than a tenner. Makes you wonder what else in the garden shed is waiting to be repurposed.