Pallets are everywhere if you know where to look, and turning a handful of them into a working compost bin costs almost nothing. The internet is awash with tutorials showing you how to hammer a few boards together, but almost every single one glosses over the preparation step that makes the difference between a bin that works beautifully for years and one that rots away before your kitchen scraps do. That step is treating the wood before a single screw goes in, and once you know it, you’ll wonder how anyone skips it.
Key takeaways
- Not all pallets are safe—discover the secret stamp that tells you which ones won’t poison your vegetables
- The step every online tutorial glosses over, and why skipping it means rebuilding in two years instead of ten
- A farmer’s trick from generations past that costs almost nothing but transforms your bin’s lifespan
Finding the Right Pallets (This Part Actually Matters)
Not all pallets are safe to use in a food-growing context, and this is where a lot of enthusiastic builders come unstuck. You’re looking for pallets stamped with the letters HT, which stands for heat-treated. These have been decontaminated using heat rather than chemicals. Pallets marked MB have been treated with methyl bromide, a fumigant you absolutely do not want leaching into your compost. The stamp is usually burned or printed onto the side rail, a small oval or rectangular mark from the IPPC (the International Plant Protection Convention).
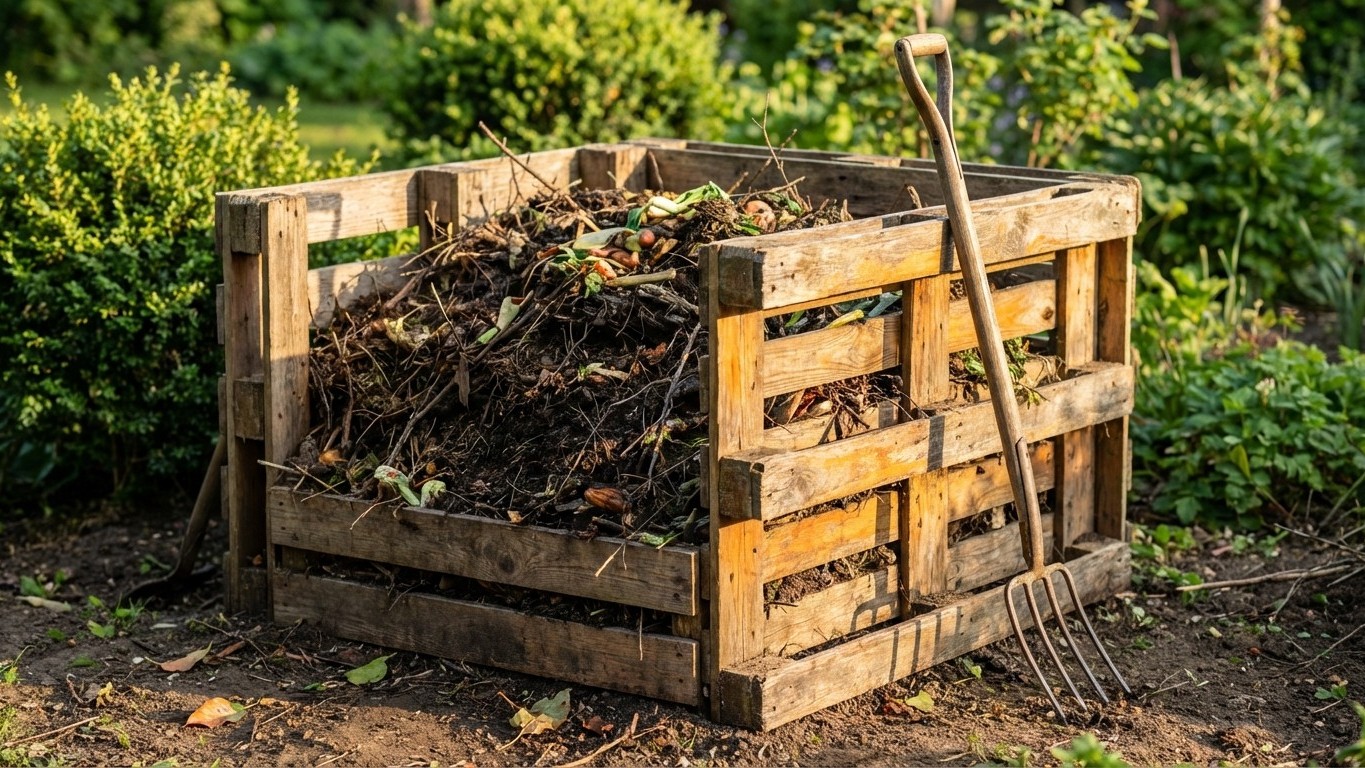
Garden centres, furniture shops, and builders’ merchants are often delighted to have someone take pallets off their hands. A quick phone call on a Tuesday morning is usually more productive than turning up unannounced on a Saturday. Most people find four pallets is the ideal number: three form the back and sides, one acts as the removable front panel. That gives you a generous square bin, roughly a metre across, which is just about the minimum size for a hot compost heap to generate real heat.
The Step Every Tutorial Skips: Treating the Wood
Here it is. The thing nobody tells you. Raw pallet wood, even heat-treated pallet wood, is typically pine or spruce, soft, thirsty timber that will absorb moisture from your compost heap and begin to soften within a single season. Left untreated, you’ll be rebuilding in two or three years. Treat it properly first, and the same bin can serve you for a decade.
The method I use is linseed oil, raw or boiled (boiled dries faster, which is useful in our climate). Paint every surface you can reach, working the oil into the end grain especially, because that’s where moisture gets in fastest. Leave it to soak in overnight, then apply a second coat. The wood will darken and feel almost waxy when it’s ready. This isn’t a new trick, farmers have been doing it to fence posts and outbuildings for generations, long before proprietary wood treatments existed.
There’s a tempting shortcut here: using old engine oil or creosote. Please don’t. Both can introduce compounds that persist in soil and accumulate in compost, and you don’t want those working their way into your vegetable patch. Raw or boiled linseed oil is cheap, widely available from hardware shops, and genuinely safe once cured. A litre will cover four pallets with two coats to spare.
One more thing while you’re preparing: if any boards on your pallets are split or badly warped, prise them off and replace them with offcuts from the same pallet. A structurally sound bin stays upright when you’re turning a heavy heap with a fork, a wobbly one has an alarming tendency to collapse at exactly the wrong moment, usually when wearing good shoes.
Putting It Together Without Overthinking It
Assembly is genuinely straightforward, and this is where you can breathe a little. Stand three pallets in a U shape on a level patch of bare soil (grass underneath a compost bin simply dies, which is fine, but bare soil means worms can get in from below, which is very much the point). Use heavy-gauge wire or long coach screws to fix the back corners together. The two side pallets lean against the back one and into each other; once wired at the top corners, the whole thing becomes surprisingly rigid.
The front pallet is left loose. Slipping it into place, propped against the two side pallets, means you can remove it entirely when it’s time to turn or harvest the compost. Some people add a latch; I find it unnecessary. The weight of a full heap keeps everything in place perfectly well.
A piece of old carpet or a square of cardboard laid on top keeps rain from waterlogging the heap and retains warmth, which encourages the microbial activity that actually breaks everything down. Old carpet from a skip works just as well as a purpose-made lid, and I’d argue it works better, since it moulds itself to an irregular heap more obligingly than any rigid cover.
Getting Your Heap Off to a Proper Start
A compost bin is only as good as what you put in it, and the ratio that matters most is carbon to nitrogen: roughly three parts “brown” material (cardboard, straw, dry leaves, wood chip) to one part “green” (kitchen scraps, grass clippings, fresh prunings). Too much green and you get a slimy, smelly mess. Too much brown and nothing happens. The balance is the thing.
Chop or shred material before adding it where you can. A spade edge run over a pile of leaves, or kitchen scraps given a rough chop, dramatically speeds up decomposition. Surface area is everything in composting, the more Exposed material there is for microbes to work on, the faster the whole process moves.
The question I’m always asked is how long until usable compost appears. In a well-managed heap, you can have rich, crumbly material from the bottom of the bin within four to six months. A neglected heap can take two years and still reward you. There’s something quietly satisfying about that: unlike so much in modern life, composting is patient, and it’s entirely on your side.