Filling a wall hole sounds so simple that most of us never think twice about it. Grab some filler, press it in, sand it smooth, done. Except it rarely is done, is it? The paint looks patchy, the surface dips slightly in that spot, or worse, the filler cracks and falls out six months later. The culprit, almost every time, is a single preparatory step that gets skipped entirely: priming the hole before you fill it.
I’ll admit it freely. I plastered over bare plasterboard holes for years, wondering why my results never looked quite as clean as I hoped. A builder friend set me straight over a cup of tea one afternoon, and it was one of those maddening moments where the explanation is so obvious you feel slightly foolish. But you shouldn’t. Nobody teaches us this. It just gets assumed.
Key takeaways
- Bare plaster and plasterboard are so porous they drain filler moisture in seconds, causing shrinkage and failure
- One simple prep technique used by professionals transforms how filler bonds and cures—but almost nobody knows about it
- There’s a second hidden step after sanding that prevents that telltale dull patch from showing through paint
Why the Hole Itself Is the Problem
Plasterboard, bare plaster, and raw brick are all extraordinarily porous materials. When you press ready-mixed filler straight into an untreated hole, those surfaces drink the moisture out of your filler almost immediately. This is called “suction,” and it’s the same reason painters prime walls before applying emulsion. Without that moisture, the filler can’t cure evenly. It shrinks as it dries, pulling away from the edges of the hole and leaving that telltale shallow dip you then have to fill again, and again, in a cycle that tests the patience of even the most committed DIYer.
The science behind it is straightforward enough. Filler is largely a calcium sulphate or acrylic compound suspended in water. The drying and hardening process depends on that water being released slowly and evenly into the surrounding air, not sucked greedily into the wall within the first thirty seconds. Rough, porous edges also give you a weaker mechanical bond, which explains the cracking. The filler simply has nothing solid to grip.
The One Step That Changes Everything
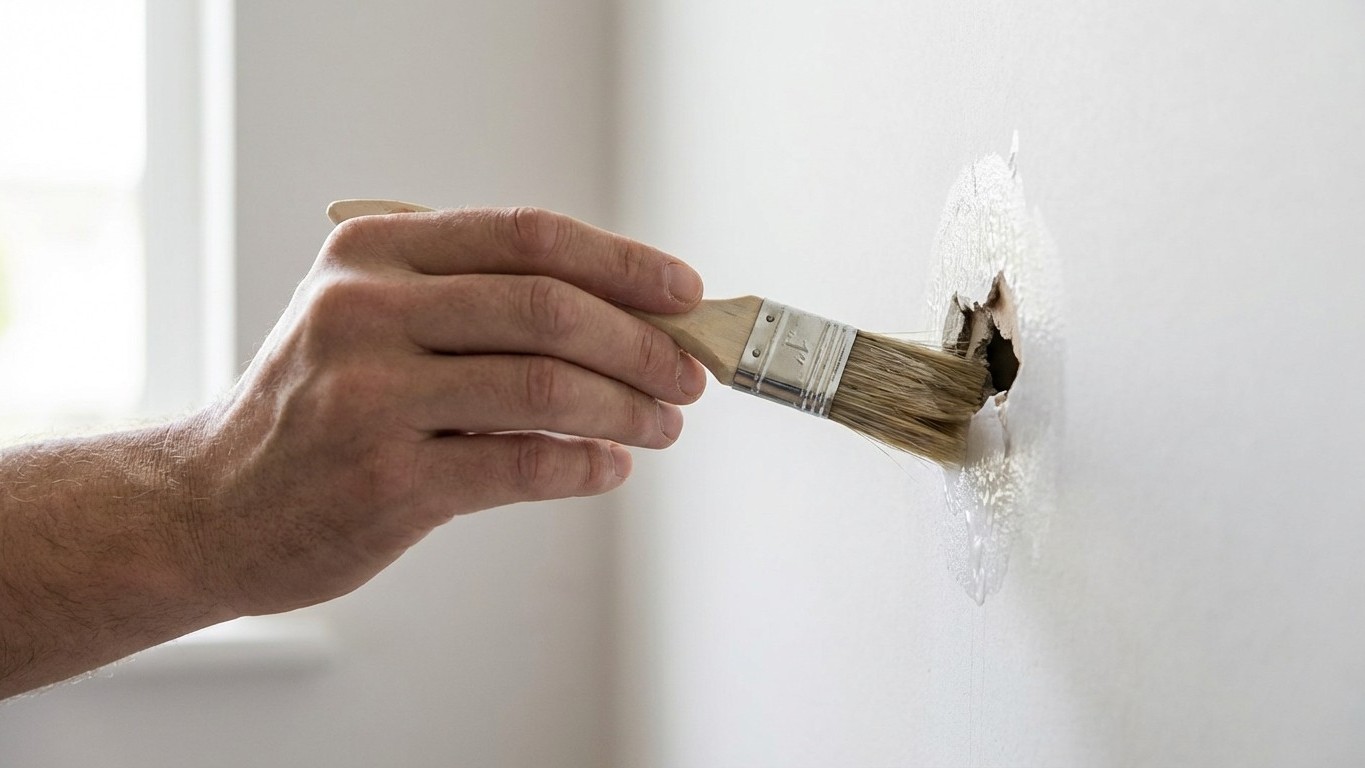
Before any filler goes anywhere near the hole, dampen the area. That’s really the heart of it, and it costs nothing. Use a small brush or even your fingertip to apply clean water around the inside of the hole and the surrounding edge. Wait thirty seconds. For holes in raw plasterboard or older lime plaster walls, a diluted PVA solution works even better: mix one part PVA adhesive with four parts water, paint it generously into the hole, and allow it to become tacky rather than wet before you fill. This takes perhaps five to ten Minutes, and it is, without exaggeration, the difference between a repair that lasts decades and one that needs redoing by Christmas.
The diluted PVA does two things at once. It seals the porous surface so the filler retains its moisture long enough to cure properly, and it creates a slightly sticky, grippy layer that the filler bonds to far more reliably. A small tub of PVA adhesive from any hardware shop costs only a pound or two and will last you through dozens of repairs. It’s the sort of humble product that quietly earns its keep in the cupboard under the stairs.
Does the size of the hole change the approach?
For tiny nail holes or small screw fixings, dampening with water alone is usually sufficient. But anything wider than roughly a centimetre deserves the PVA treatment. For deeper holes, say where a rawlplug has torn out and taken a chunk of plaster with it, you’ll want to fill in two layers rather than one. Apply a first layer, let it dry completely (resist the urge to rush), then apply your second layer flush with the wall surface. The PVA prep still applies to both stages. Each layer needs the same grippy, sealed base.
Large holes, those over about 5cm across, are a slightly different matter and may benefit from a backing material such as a mesh repair patch before filling. These are inexpensive and widely available. The principle, though, remains the same: prepare the surface before you commit any filler to it.
Getting the Finish Right Afterwards
Once your filler is fully dry and sanded smooth with fine-grade sandpaper (working in circular motions, not straight strokes), you’re still not quite ready to paint. Here’s where a second commonly skipped step bites people: seal the filled area with a mist coat or a spot of diluted emulsion before painting. Fresh filler is porous too, and if you paint directly over it with your topcoat, you get a dull, flat patch that shows through even after several coats. A thin, watery layer of emulsion, just paint thinned with about ten percent water, applied to the filled patch and allowed to dry first, resolves this completely.
Sand lightly again after the mist coat with a very fine paper, 240-grit or similar, to knock back any raised texture. Then paint as normal. The repair should disappear entirely into the surrounding wall.
There’s something quietly satisfying about doing a small job properly and having it Actually hold. Wall repairs are one of those tasks where ten extra Minutes of preparation saves you an hour of frustration later. My builder friend’s parting advice has stuck with me: “The wall has to want to hold the filler.” A bit poetic for a Tuesday afternoon, perhaps, but he wasn’t wrong. Give the surface the right preparation, and it will grip what you give it and never let go. Which makes you wonder, really, what other small preparatory steps we’ve all been cheerfully skipping elsewhere around the house.