If you’ve ever spent an afternoon wrestling with a length of decorative moulding, sandpaper wrapped around your fingers, trying to get into those curves and profiles Without Sanding away the very detail you’re trying to preserve, then you’ll understand the particular frustration I’m talking about. The good news is that a piece of foam, the kind you might be about to throw away, solves the whole problem in moments.
Key takeaways
- Flat sandpaper destroys the crisp details that make mouldings beautiful
- A piece of recycled foam perfectly conforms to any curve or profile
- Professional results take five minutes instead of an hour of frustrating trial-and-error
The mistake almost everyone makes with moulding
Flat surfaces are forgiving. A sheet of sandpaper, a sanding block, even just your palm, they all work well enough on a straight run of timber. Mouldings are a different matter entirely. The ogee curves, the coves, the beads and flutes that make decorative timber so attractive are precisely the shapes that flat sandpaper destroys. When you press a rigid block against a curved profile, you contact only the high points. Sand for long enough and those high points become flat, the crisp edges soften, and what was once a sharp, well-defined moulding starts to look as though it’s been left out in the rain for a decade.
I spent years doing this. Folding sandpaper into tight pleats to try and follow curves, using my fingernails to press the abrasive into narrow grooves, and occasionally resorting to dowel rods or pencils wrapped in sandpaper. None of it was quite right. The results were always slightly off, with one section over-sanded while the adjacent groove was barely touched. There had to be a better way, and as it turns out, it was sitting in my recycling bin.
Why foam changes everything
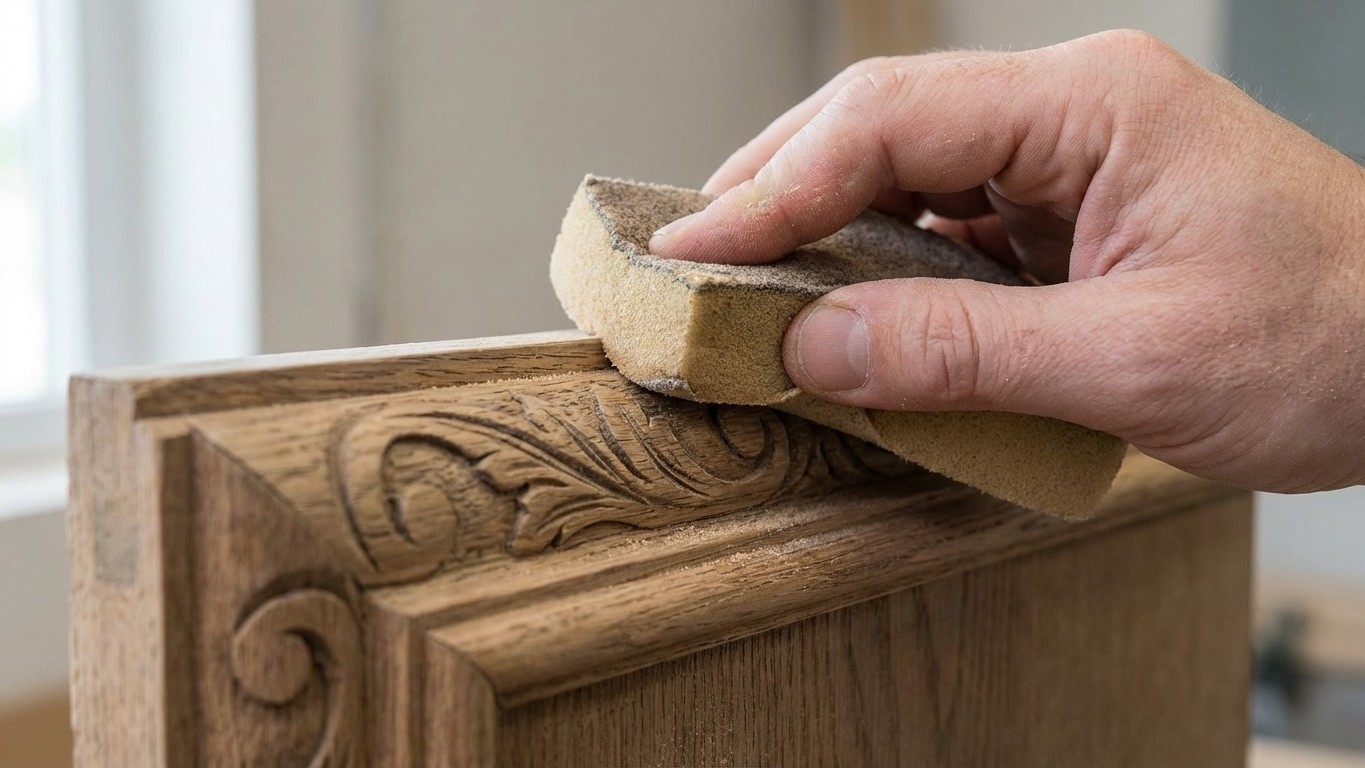
The insight is almost embarrassingly simple. Foam compresses and conforms. Press a piece of foam against a curved surface and it moulds itself to that exact profile, distributing pressure evenly across every contour. Wrap sandpaper around a piece of foam before pressing it to your moulding and suddenly you have a custom sanding block that perfectly matches every hollow and ridge.
The best sources are things you’d normally discard. Packaging foam from appliance boxes works beautifully, as do the foam trays sometimes found under supermarket meat and fish (give those a good wash first, obviously). Even old foam bath sponges, the rectangular ones, cut down to a manageable size. A piece roughly 10cm by 5cm and about 3-4cm thick is ideal for most standard mouldings, something chunky enough to grip comfortably but flexible enough to conform.
The method is straightforward. Cut your foam to a size you can hold comfortably in your hand. Tear off a strip of sandpaper, 120 grit for initial smoothing, 180 or 220 for finishing, and simply wrap it around the foam, holding it in place with your fingers as you work. Press the foam-backed sandpaper gently but firmly against the moulding profile and draw it along the length of the timber with the grain. The foam does the thinking for you, Filling in every curve and hollow, applying consistent pressure across the whole shape rather than just the peaks.
The first time I tried this properly, on a length of Victorian-style architrave I was repainting in the hallway, I stopped after about three strokes to look at the result. The profile was sharp. Every shadow line was still crisp. The paint key was even across the full face of the moulding. Five minutes of work, and the whole section looked better than Anything I’d managed in an hour of previous fiddling.
Getting the grit sequence right
Foam gives you control, but the sandpaper grit you choose still matters. For bare wood or stripped timber, start around 80-100 grit to remove old finish or rough the surface, then move through 120 and finish at 180 or finer. For mouldings you’re simply keying back between paint coats, the most common scenario for most of us redecorating a room, 180 to 220 grit is where you want to be. Anything coarser risks cutting through edges and, worse, scratching so deeply that the marks show through the next coat of paint.
One small refinement worth knowing: for very tight coves or narrow beads where even a piece of foam is too large, you can tear the foam into smaller pieces, or even use a strip of foam weather seal tape (the self-adhesive Draught excluder type) folded back on itself. It gives you a thin, flexible sanding tool that still conforms to the profile rather than bridging across it.
Always sand with the grain, never across it, and wipe down with a slightly damp cloth or a tack cloth afterwards before painting. Old mouldings, especially in Victorian or Edwardian homes, sometimes have many layers of old paint built up in the recesses. If the profile has become clogged and indistinct, a careful pass with a fine dental pick or an old, stiff paintbrush can shift loose debris before you sand, rather than grinding it in.
A small thing that earns its keep
There’s something satisfying about solutions that cost nothing and weigh almost nothing. A piece of scrap foam doesn’t take up drawer space, doesn’t need charging, and doesn’t require a trip to the ironmonger. You probably already have several candidates in your home right now. The foam insert from a recent delivery, a retired kitchen sponge, the packing from a new kettle, all perfectly serviceable.
Decorating is one of those domestic tasks where the difference between a professional-looking finish and a slightly disappointing one often comes down to preparation rather than expensive materials. Mouldings that are properly sanded, with crisp lines intact, seem to hold paint better, show brush marks less, and genuinely lift the feel of a room in a way that flat walls alone cannot. It makes you wonder what other small techniques are sitting unnoticed, waiting to quietly transform the ordinary Saturday afternoon jobs we’ve been approaching the same way for years.