A trickling tap that used to gush is one of the most maddening things in the home. You call a plumber, brace yourself for a hefty bill, and he turns up, only to reach into his pocket and pull out a small plastic bag. No wrench, no blowlamp, no drama. Just a bag, some white vinegar, and about ten minutes of patience. Turns out, the fix for weak water pressure is often so simple it feels almost embarrassing. But before you feel foolish, know this: nearly one in four homeowners struggles with low water pressure, making it one of the most common household complaints there is.
Key takeaways
- A plumber’s secret weapon isn’t expensive equipment—it’s something in your kitchen cupboard
- That tiny screen at the end of your tap could be strangling your water flow without you realizing it
- One simple trick can restore your shower pressure by up to 15% in just one night
The tiny culprit you’ve probably never thought about
The aerator is the small screen at the end of the tap. It blends air into the water stream, which cuts down on splashing and controls how much water flows out. Over time, this little part collects mineral deposits, sand, and other bits of gunk, especially if you have hard water. And in much of England, hard water is simply a fact of life. Areas such as London, the South East, and the East of England Experience heavier limescale deposits than anywhere else in the country.
The white, chalky residue that accumulates on tap surfaces is typically limescale, primarily calcium carbonate originating from hard water. High mineral content water leaves behind dissolved calcium and magnesium ions when it evaporates, resulting in a hard, crusty texture. Limescale is not a hazardous substance, but it can interfere with the performance of your taps, pipes, and showerheads, leading to blockages and reduced water pressure over time. What begins as a bit of chalky crust quietly strangling your tap’s little screen eventually becomes that maddening trickle you called someone out to fix.
In the vast majority of cases, the problem is not your pipes at all, it’s your aerator. This simple fix solves low pressure problems about 70% of the time. That statistic alone should make you reach for the bag of vinegar before reaching for the phone.
The plastic bag trick: what your plumber actually did
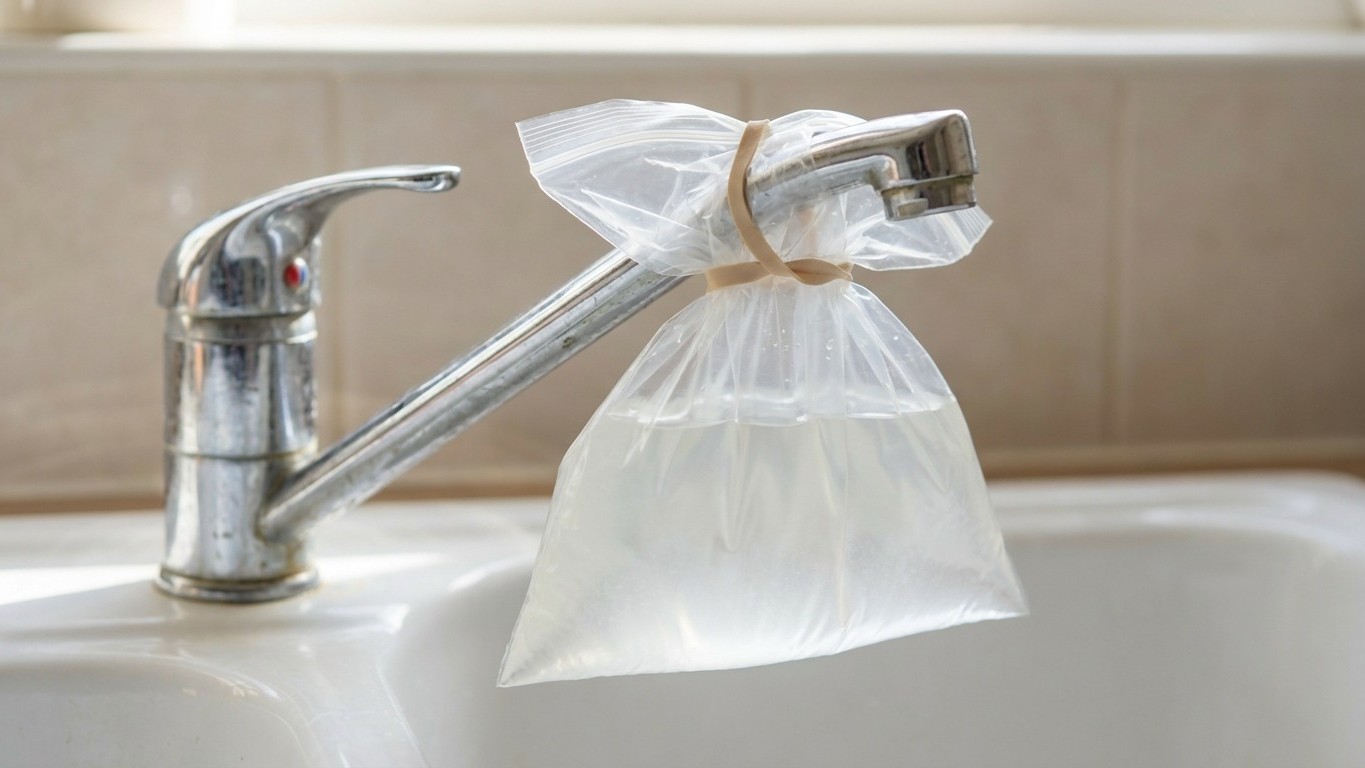
The method is disarmingly straightforward. The easiest way to clean mineral buildup from your aerators is to grab some plain white vinegar, a rubber band, and a sandwich bag. Place the rubber band around the top of your bag before filling, this will make it easier to put around your tap once the bag is full. Make a 1:1 mixture of white vinegar and water and place the mixture inside the bag. Put the spout of your tap into the sandwich bag and hold it in place with the rubber band, making sure to immerse the aerator completely within the vinegar mixture.
Fill the bag with white vinegar and secure it around the tap spout with a rubber band, ensuring the spout end is submerged. Let this soak for several hours or overnight to dissolve internal mineral deposits. The acid in the vinegar does a fantastic job of dissolving all that crusty calcium and limescale. Once the time is up, remove the bag, run the tap at full blast for a minute or two to flush everything out, and test. You might see chunks of mineral buildup flow out during this process, which is, frankly, rather satisfying.
If you’d rather take the aerator off entirely for a more thorough clean, that works too. Unscrew the aerator from the tap tip, most turn counterclockwise by hand, but stubborn ones might need pliers wrapped in tape to prevent scratching. Submerge all disassembled components in a bowl of white vinegar for at least an hour, or up to several hours for heavy deposits. The acetic acid will dissolve the internal limescale and free any trapped grit or sediment. One small but important note: always plug the sink first. Faucet aerators consist of tiny parts, and losing a piece down the drain complicates things considerably.
The same trick works beautifully on showerheads. Fill a plastic bag with your water and vinegar mixture, tie it around the showerhead, and let it soak. You’ll be amazed at the difference. You can expect a noticeably stronger shower spray, with up to a 15% improvement in flow. For a showerhead you can unscrew entirely, a longer soak works wonders: place it inside a plastic bag filled with white vinegar and baking soda, and leaving it to soak overnight dissolves stubborn limescale completely. Use a small pin to clear any remaining debris before rinsing and refitting.
When the bag trick isn’t enough
Before assuming your whole house has a pressure problem, do a quick check. An isolated issue with just one tap usually means a simple fix, like a clogged aerator. But if every tap is trickling, you might be looking at a bigger problem with your main valve, pressure regulator, or even a hidden leak.
Many older UK homes still rely on gravity-fed systems, where water is supplied from a cold water tank in the loft and a hot water cylinder in the airing cupboard. These systems rely on the height difference between the tank and the outlet to create pressure, which means upstairs showers and taps often suffer from weak flow. No amount of vinegar will fix that particular problem. Installing a booster pump for key outlets, like a shower, can improve flow significantly. Alternatively, switching to a combi boiler may provide better mains-fed pressure throughout the home.
Older pipes or those exposed to hard water can develop internal buildup that restricts flow. If cleaning the aerator and cartridge doesn’t solve the issue, you may need a plumber to inspect and clean or replace the pipes. Old galvanised steel lines can corrode internally, reducing their diameter by 50% or more, at which point a bag of vinegar is, admittedly, not going to cut it.
Keeping pressure strong: a little and often
Prevention really is the easiest route here. Clean your aerator every three to six months, especially if you have hard water with high mineral content. Aerators can clog more quickly in areas with hard water, so regularly cleaning them with a vinegar solution helps dissolve mineral deposits before they cause blockages. Think of it like descaling the kettle, most of us do that without a second thought, yet somehow the tap aerator gets forgotten for years.
Exercise your shut-off valves twice a year by closing and reopening them. This prevents the internal components from seizing and helps maintain proper valve function. Angle stops, the shut-off valves you’ll find under your sinks, being partially closed are a common cause of reduced pressure. No one ever knows who turned them, but if they’re not completely in the open position, the volume and pressure coming out of the tap will be noticeably reduced. Worth a quick check the next time you’re poking about under the sink.
One thing worth knowing: faucet aerators generally last about one year. If it’s been longer than that since you last replaced yours, you’re likely to Experience low flow, mineral buildup, and corrosion that worsens over time. A replacement aerator for a standard British tap costs very little from any plumber’s merchant or hardware shop, far less, at any rate, than a call-out fee for someone to come and tie a plastic bag around your tap for you.
Sources : purebathbliss.com | thisoldhouse.com