Buying picture frames is one of those small household expenses that somehow adds up to a small fortune over the years. A decent frame here, a matching set there, and before you know it you’ve spent more on borders than on the art itself. That all changed for me the summer I started collecting driftwood on a Norfolk beach, quite by accident, and realised I was walking past free, beautiful framing material with every single tide.
Key takeaways
- The sea does the hard work for you—driftwood arrives pre-seasoned and won’t warp like fresh timber
- Your entire frame kit costs next to nothing beyond wood glue and panel pins
- One hour collecting walk yields enough material for multiple frames that guests will assume you paid a fortune for
Why driftwood works so well as a natural frame
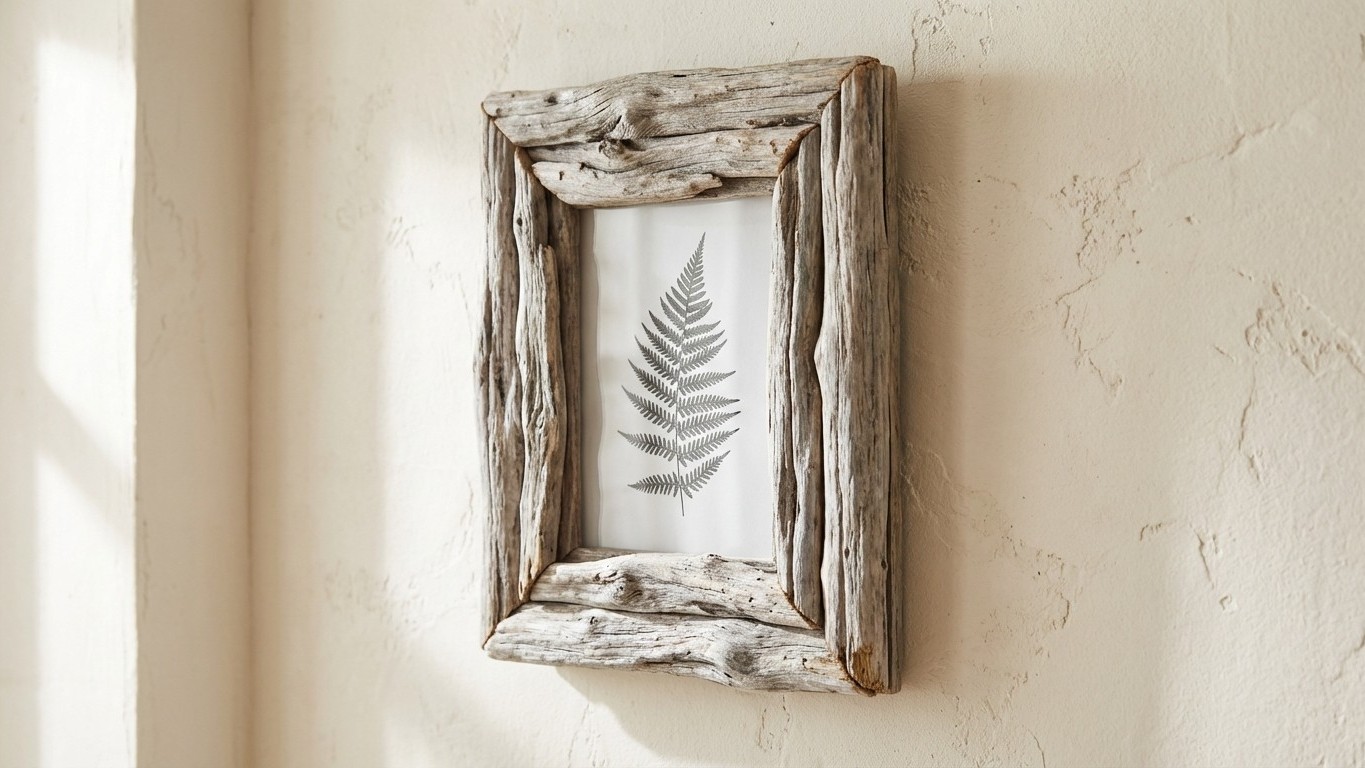
There’s something about the texture of weathered wood that no manufactured frame can replicate. The sea, sun, and salt work together over months or years to bleach the timber, soften its grain, and create that silvery-grey palette that happens to complement almost any artwork, photograph, or pressed botanical print. Unlike raw wood, driftwood arrives pre-seasoned. It won’t warp the way fresh timber does when it dries indoors, because the sea has already done that work for you.
The pieces you’re looking for aren’t the enormous logs that wash up after storms. You want lengths that are relatively straight, roughly 1 to 2 centimetres thick, and long enough to form four sides around your chosen image. Thinner pieces can snap; anything much wider than 5 or 6 centimetres tends to overpower a small print. A good collecting walk takes about an hour, and I’d recommend bringing a canvas bag and being choosy. You only need four reasonably matched pieces for a single frame.
Building your frame, step by step
Before you do anything else, let your collected driftwood dry completely at room temperature for at least a week. Even pieces that feel dry on the beach often carry moisture inside. Lay them somewhere with good airflow, a windowsill or an airing cupboard shelf works perfectly, and resist the urge to rush this stage. Damp wood won’t hold adhesive properly.
Once dry, decide on your image first, then cut your frame pieces to size rather than the other way around. A small handsaw or, if you have one, a mitre saw gives you the cleanest edges. For a beginner’s rectangular frame, straight cuts at 90 degrees are perfectly fine. You don’t need to attempt a mitre joint unless you’re feeling confident; a butt joint (where pieces simply meet end-to-end at the corners) works beautifully on rustic driftwood and honestly suits the style better.
Lay your four pieces out on a flat surface and dry-fit them around your image before reaching for any adhesive. This is the step most people skip and then regret. When you’re happy with the fit, use a strong wood adhesive along each join. Hold the corners in place with masking tape or small woodworking clamps while the glue sets overnight. For extra security, once the glue has cured, you can press small panel pins into each corner using a tack hammer. Two pins per corner is plenty.
Attaching the image itself is simple. For paper prints, a piece of thin card or mount board cut to size behind the image keeps Everything rigid. Secure the whole assembly to the back of your frame with small picture-frame clips, the kind you press flat against the backing board. These cost next to nothing from any hardware shop and come in packs of ten or more. A sawtooth hanger or a loop of picture wire across the back, fixed with two small screws, and you’re done.
The finishing touches that make all the difference
Raw driftwood, straight from your collection bag, often has a lovely natural patina that needs nothing added. Resist over-finishing. That said, a very light coat of clear matte wax (the sort sold for wooden furniture) buffs to a subtle sheen and helps protect the surface without making it look varnished or artificial. Apply sparingly with a soft cloth, let it sit for ten minutes, and buff off the excess. The wood keeps its character completely.
If some of your pieces are a little too pale or don’t quite match, a weak dilution of grey or white emulsion paint, mixed roughly one part paint to four parts water, can be applied with a dry brush and immediately wiped back. This Technique is called dry-brushing or limewashing depending on who you ask, and it evens things out without obliterating the natural grain. Try it on a scrap piece first.
One thing worth knowing: if you collected your driftwood from a beach that sees heavy boat traffic or is near industrial areas, give your pieces a wipe with a damp cloth before you start working with them indoors. Coastal wood is generally safe to handle, but there’s no harm in being sensible about anything with an unusual smell or discolouration.
Where the real value lies
The practical saving is real enough. A set of four coordinating driftwood frames for a gallery wall costs you the price of some wood glue, panel pins, and an afternoon. The pleasure of them, though, goes beyond the pennies saved. Every piece has a provenance, a history of tides and journeys you can only guess at. Guests always notice them, and there’s something quietly satisfying about saying “I made those” and meaning it entirely.
This approach also scales beautifully. Small pieces of driftwood suit square prints and botanical cards; longer, more substantial lengths can frame a proper A3 print or even a small canvas. Some people I know have started building entire gallery walls this way, mixing sizes and orientations, with results that look far more considered and original than anything assembled from matching shop-bought sets.
Next time you find yourself on a British beach, have a proper look at the tide line. What washes up isn’t rubbish. Some of it, if you take the time to look, is practically ready to hang on your wall.