A spotless tile floor, gleaming without a single streak or chalky film, it’s one of those small domestic triumphs that makes a real difference to how a home feels. The good news is that you don’t need a cupboard full of chemical products to get there. A handful of simple, inexpensive ingredients is all it takes to make a genuinely effective natural tile floor cleaner homemade, one that works on everything from the kitchen to the bathroom without leaving that dreaded milky residue behind.
Why switch to a natural tile cleaner?
The hidden costs of conventional products
Most shop-bought tile cleaners rely on a cocktail of surfactants, synthetic fragrances, and preservatives that do a decent job on grime but leave behind problems of their own. That persistent film you sometimes notice on a freshly mopped floor? Often a residue from the cleaner itself, especially if the product wasn’t rinsed away thoroughly. Over time, this build-up can dull the surface of glazed tiles, trap dust more readily, and create a slightly sticky feel underfoot.
There’s also the matter of ventilation. Many conventional floor cleaners release volatile compounds that linger in enclosed spaces, kitchens, bathrooms, utility rooms, where people spend a good portion of their day. For households with young children who play on the floor, or anyone with respiratory sensitivities, this is worth taking seriously. Then there’s the environmental footprint: concentrated chemical formulas going down the drain, plastic bottles destined for recycling at best, landfill at worst.
What natural solutions actually offer
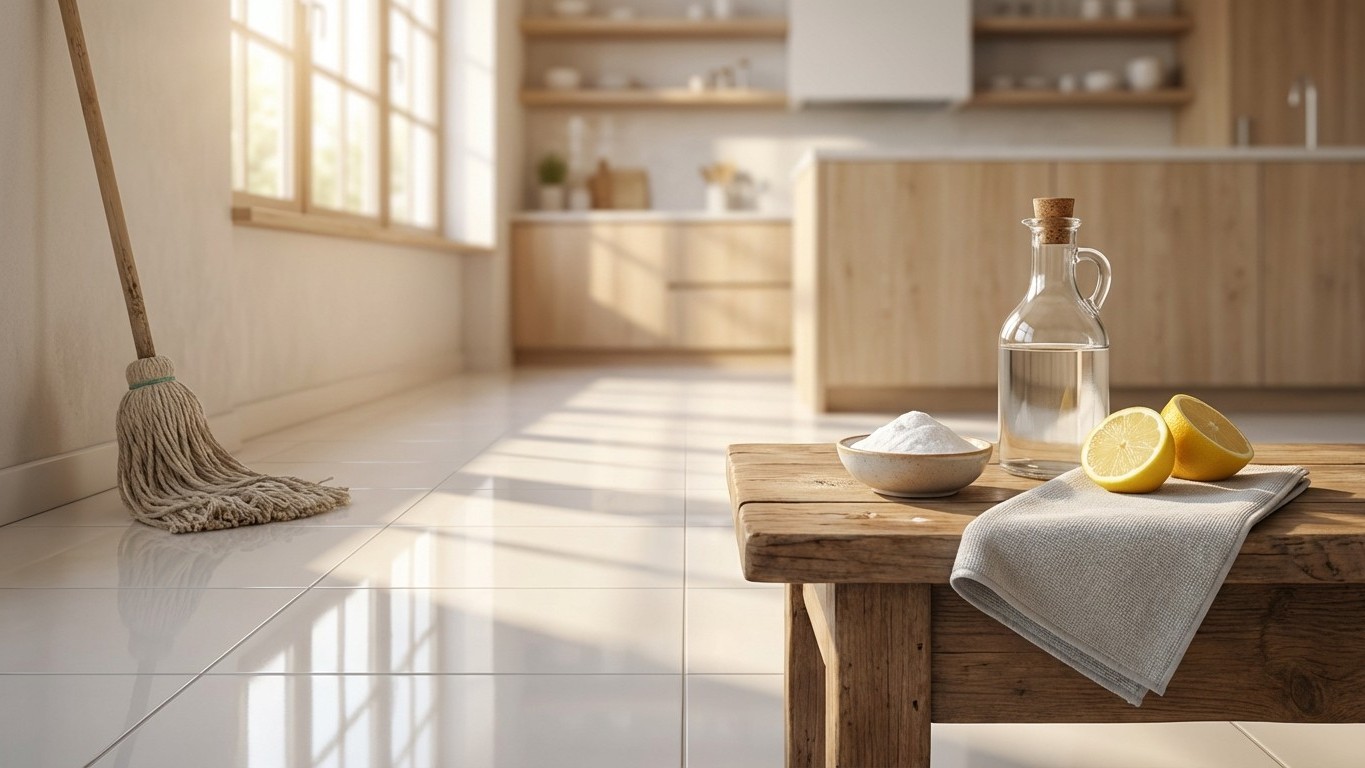
Homemade cleaners sidestep most of these concerns at a fraction of the cost. White vinegar, bicarbonate of soda, and liquid castile soap are the workhorses here, each bringing something specific to the job. They rinse away cleanly, leave no harmful residue, and when used correctly on compatible surfaces, they genuinely clean rather than just shifting dirt around. A point worth making clearly: “natural” doesn’t automatically mean “safe on everything.” The key is knowing which ingredient suits which tile type, and that’s exactly where most DIY guides fall short.
The ingredients that actually work
White vinegar: powerful, but not universal
White vinegar is the backbone of most homemade floor cleaners, and for good reason. Its mild acidity cuts through grease, dissolves limescale deposits, and leaves glazed ceramic and porcelain tiles looking bright. A dilution of roughly one part vinegar to ten parts warm water is generally effective for a weekly clean, with no rinsing required if you mop over with plain water afterwards.
The crucial caveat: vinegar should never be used on natural stone tiles (marble, travertine, limestone, slate), on terracotta, or on any tile with a porous, unsealed surface. Acid attacks these materials at a microscopic level, gradually etching the finish and weakening the surface. If you’re unsure whether your tiles are sealed, a quick test is to drop a small amount of water on an inconspicuous area, if it beads up, the surface is sealed; if it soaks in, treat it as porous and skip the vinegar entirely.
Bicarbonate of soda: gentle abrasion without scratching
Bicarbonate (baking soda) earns its place in the cleaning kit for its mild alkaline properties and very gentle abrasive texture. Dissolved in water, it helps lift stubborn marks and neutralises odours without scratching glazed surfaces. It’s a natural complement to vinegar in theory, but, and this trips up a surprising number of people, mixing them together produces a fizzing reaction that neutralises both compounds almost immediately, leaving you with little more than salty water. Use them separately, at different stages of cleaning, for best results.
A paste of bicarbonate and a little warm water applied directly to stained grout lines, left for ten minutes, and scrubbed with an old toothbrush is one of the most satisfying cleaning tricks I know. For more on tackling tough stains with this ingredient, the guide on remove carpet stains naturally baking soda shows just how versatile it is across different surfaces.
Castile soap, essential oils, and supporting ingredients
Liquid castile soap, made from plant oils rather than petroleum derivatives, adds genuine cleaning power without leaving the kind of residue that synthetic surfactants do, provided you don’t use too much. This is where people go wrong most often: a few drops, not a generous squeeze. Too much soap in your mop bucket and you’ll spend the rest of the evening chasing a soapy film across your floor.
Essential oils are entirely optional, but a few drops of tea tree oil bring mild antibacterial properties, while lavender or lemon simply make the cleaning process more pleasant. Distilled water (or filtered water if you live in a hard water area) makes a noticeable difference to the final finish, tap water loaded with calcium leaves mineral deposits as it dries, which is often the real culprit behind those mysterious white streaks.
The recipes: tailored to your tile type
The everyday recipe for glazed ceramic and porcelain tiles
This is the recipe I come back to again and again for standard kitchen and bathroom floors. Fill a standard 10-litre mop bucket with warm water, add 150ml of white vinegar and five drops of castile soap. That’s it. The proportions matter: the water does most of the work, the vinegar handles grease and limescale, and the trace of soap lifts any remaining residue. Mop in sections, rinse the mop head frequently, and follow with a pass of plain warm water if you want an absolutely streak-free finish.
For a scented version, add five drops of lemon essential oil to the bucket. The fragrance is light and clean, and it lifts the experience from chore to something almost enjoyable.
For matt, highly porous, or textured tiles
Matt tiles have a microscopically rough surface that traps product residue and shows streaks more readily than glazed tiles. Skip the vinegar here and work with warm water, a tiny amount of castile soap (three drops per litre is genuinely enough), and a well-wrung mop. The drier the mop, the better the result. With porous tiles, excess moisture is the enemy, it soaks in, takes soap residue with it, and dries to a dull, uneven finish.
For textured anti-slip tiles, a soft scrubbing brush dipped in this same solution works better than a flat mop, which tends to skate over the surface without reaching the recessed areas.
Older, fragile, or natural stone tiles
For antique terracotta, encaustic tiles, or unsealed stone, warm water alone, with the mop thoroughly wrung out, is the safest regular clean. For something slightly more effective, a few drops of castile soap in a bucket of warm water, followed by a plain water rinse and immediate drying with a clean towel, is as adventurous as I’d recommend. These surfaces repay caution with longevity.
Getting a truly trace-free finish
Preparation and the mop question
Sweep or vacuum before you mop, always. Wet mopping over loose grit and dust simply spreads it around and works it into grout lines. A microfibre flat mop, well wrung out, gives consistently better results than a traditional string mop, which tends to hold too much water and leave wet patches that dry unevenly. If your water is hard, using cooled boiled water or a jug filter for your final rinse pass makes a visible difference to the finish.
The rinse-and-dry method
The single most effective thing you can do to prevent white film is rinse. After mopping with your cleaning solution, go over the floor once more with plain water, then allow it to dry as quickly as possible. Open a window, use a fan if you have one, or simply dry the floor section by section with an old towel or a dry microfibre cloth. Floors that air-dry slowly in damp conditions are far more likely to develop that ghostly residue.
Hard water deposits are stubbornly persistent. If you regularly see white marks despite careful rinsing, try adding a small splash of white vinegar to your plain rinse water, it chelates the calcium ions and carries them away rather than letting them settle on the surface as the water evaporates.
Common mistakes, allergies, and sensible precautions
Over-dosing on any ingredient is the most frequent error. More soap doesn’t mean cleaner tiles; it means more residue to rinse away. The second most common mistake is using the wrong ingredient on the wrong surface, particularly vinegar on stone or unglazed tiles, as discussed above. And a word about essential oils: they are highly concentrated plant extracts that can trigger reactions in people with fragrance sensitivities or certain allergies. If anyone in your household has asthma or eczema, test any new blend in a small, ventilated area first, and consider leaving the oils out entirely.
For a broader view of how these same principles apply throughout the home, the collection of natural cleaning hacks covers over forty recipes for different surfaces and rooms, all using the same accessible ingredients.
Homemade vs. bought: the honest comparison
A litre of white vinegar costs a matter of pennies per use. A box of bicarbonate of soda lasts for months across multiple cleaning tasks. Castile soap, the most expensive of the three, dilutes so dramatically that the per-use cost remains very low. Compare this to even a mid-range branded tile cleaner, and the savings over a year are genuinely substantial, all without compromising on results, provided the recipe suits your floor type.
The environmental case is equally clear: far less packaging, no synthetic chemicals entering the water system, and ingredients that break down safely. The one area where commercial products occasionally win is convenience, a spray-and-wipe formula for quick touch-ups is hard to beat. Making a small spray bottle of diluted vinegar solution (one part vinegar to four parts water) and keeping it under the sink solves that problem neatly.
Extending the approach to other floors and surfaces
Tiles are often just one part of a mixed-floor home. If your hallway runs from ceramic tiles to carpet, or your kitchen opens onto a wooden floor, the same natural cleaning philosophy applies throughout with adapted recipes. For carpets in particular, the guides on natural carpet cleaning hacks and natural carpet cleaning hacks offer a complete routine covering stain removal, odour control, and quick-drying techniques, all without harsh chemicals.
There’s something rather satisfying about the whole-house approach: once you understand the logic of these ingredients, acid versus alkali, abrasion, surfactant action, dilution, you can adapt any recipe to any surface with confidence. Your tiles are a good place to start, but they’re rarely the last place these methods prove their worth.