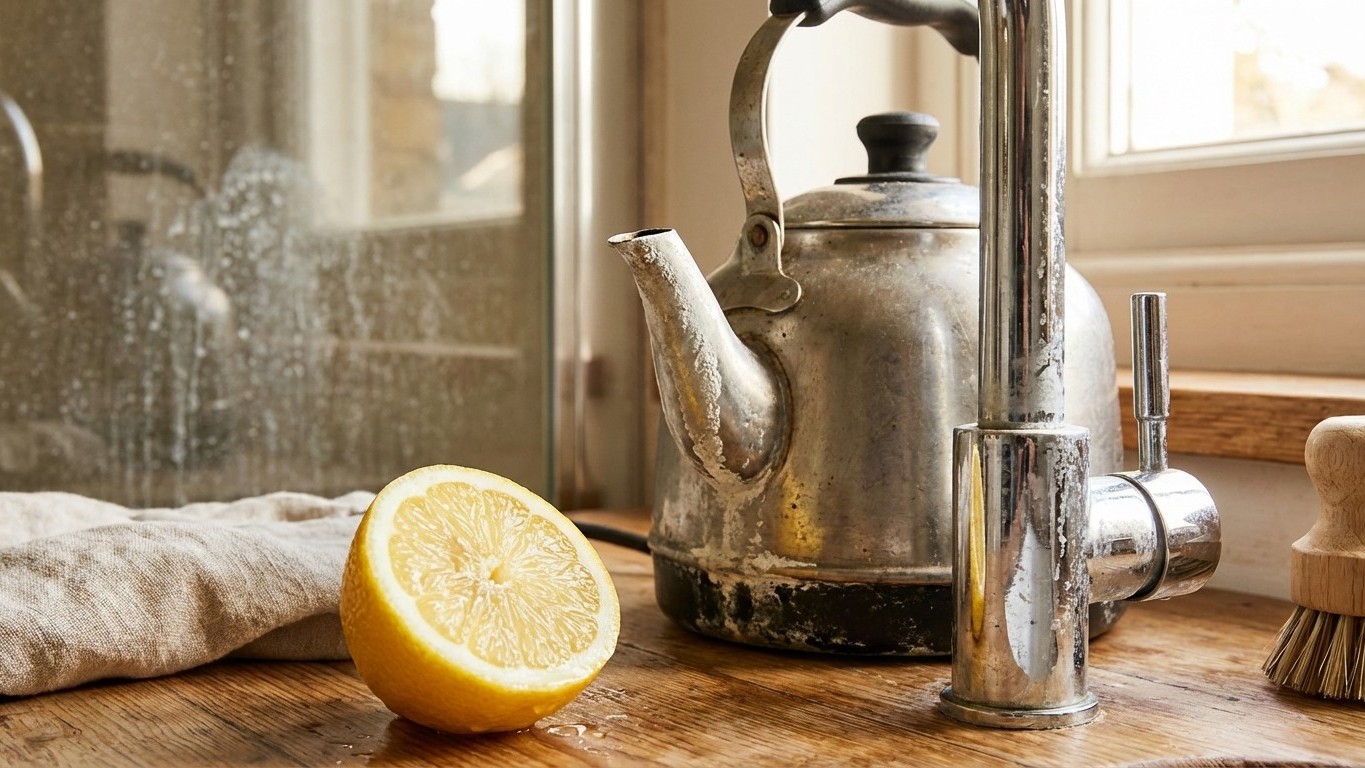
That stubborn white crust clinging to your taps, coating the inside of your kettle, and dulling your shower screen has a formidable natural enemy sitting in your fruit bowl. Lemons, those cheerful yellow orbs we squeeze into gin and tonics, possess remarkable descaling properties that our grandmothers understood long before we started buying plastic bottles of chemical cleaners. The acid within a fresh lemon dissolves mineral deposits with surprising efficiency, leaving surfaces gleaming without the harsh fumes or environmental concerns that come with many commercial products.
Whether you’re tackling a kettle that’s more calcium than container, or bathroom fixtures that have lost their sparkle beneath a chalky film, this guide walks you through practical, tested methods for using lemon against limescale. I’ve spent decades experimenting with natural cleaning hacks, and lemons remain one of my favourite weapons in the fight against hard water deposits.
Why Lemon Works as a Natural Limescale Fighter
The acidic properties of lemon
Limescale forms when calcium carbonate from hard water crystallises on surfaces. This mineral compound has a weakness: it dissolves when it meets acid. Fresh lemon juice contains approximately 5-6% citric acid, which reacts with calcium carbonate to break down those stubborn white deposits into soluble compounds that simply wash away.
The chemical reaction is straightforward. Citric acid meets calcium carbonate, and together they produce calcium citrate, water, and carbon dioxide. That gentle fizzing you sometimes notice when applying lemon to heavy scale? Those are tiny bubbles of carbon dioxide escaping as the limescale breaks apart.
Beyond the chemistry, lemon offers practical advantages. The natural oils in lemon peel add a pleasant fragrance that lingers after cleaning. The fruit’s texture provides gentle abrasion when you use the cut side directly on surfaces. And unlike synthetic acids, citric acid biodegrades quickly without harming aquatic life when it goes down the drain.
Comparing lemon to other natural descalers
White vinegar contains acetic acid at roughly 5% concentration, making it comparable to lemon in descaling power. However, the two acids behave differently. Vinegar’s sharp smell can be overwhelming in enclosed spaces like bathrooms, while lemon leaves a fresh scent most people find pleasant. Some find that citric acid works slightly faster on thick deposits, though both require patience for heavy buildup.
For those curious about cleaning with vinegar and baking soda hacks, vinegar certainly has its place. I reach for it when descaling large areas or when cost is the primary concern. But for bathroom fixtures, kitchen appliances, and anywhere I’ll be working in close quarters, lemon wins every time. The experience of cleaning matters, and breathing lemon-scented air beats vinegar fumes.
Commercial citric acid powder offers a more concentrated alternative. You can buy it cheaply from baking supply shops. One tablespoon dissolved in 500ml warm water creates a powerful descaling solution. This works brilliantly for soaking removable parts but lacks the convenience of grabbing a lemon from the fruit bowl for a quick clean.
How to Use Lemon Against Limescale
Preparing a homemade lemon cleaner (step-by-step recipe)
For an all-purpose anti-limescale spray that keeps for up to a fortnight, you’ll need two large lemons, 300ml water, and a clean spray bottle. Start by rolling the lemons firmly under your palm to release their juices. Cut them in half and squeeze thoroughly, straining out seeds and pulp through a fine sieve. Mix the strained juice with water, pour into your spray bottle, and shake well before each use.
Want something stronger for stubborn deposits? Simmer lemon peels in water for twenty minutes, let the liquid cool, strain it, and use undiluted. The extended heating extracts more citric acid and oils from the peel, creating a more potent solution. This concentrated version works particularly well on shower screens and heavily scaled taps.
A paste for really tough spots combines fresh lemon juice with enough table salt to form a gritty mixture. The salt provides physical abrasion while the acid works chemically. Apply with a cloth, let it sit for five minutes, then scrub gently in circular motions. Rinse thoroughly to prevent salt residue.
The quick trick: rubbing with half a lemon
Sometimes the simplest approach works best. Cut a lemon in half, and you have an instant cleaning tool. The exposed flesh releases juice directly onto surfaces, while the membrane provides a gentle scrubbing texture. This method suits tap handles, small fixtures, and spots where spraying would be awkward.
Press the cut lemon firmly against the scaled area and twist slightly, allowing the juice to penetrate the deposits. For vertical surfaces, hold the lemon in place for thirty seconds to let acid contact work before rubbing. The white pith around the fruit acts almost like a sponge, holding juice against the surface longer than a cloth would.
Limescale-Free Taps: An Effective Lemon Method
Detailed instructions
Chrome and stainless steel taps respond beautifully to lemon treatment. Begin by wetting the tap with warm water to soften surface deposits. Apply your lemon spray liberally, or rub directly with a lemon half, paying attention to the base where the tap meets the sink and around handles where water pools and evaporates.
Wrap particularly crusty areas with a cloth soaked in lemon juice or, for severe buildup, secure half a lemon directly over the spout using a rubber band. Leave this in place for an hour, or overnight for extreme cases. The extended contact time allows acid to penetrate layers of mineral deposits that have accumulated over months or years.
After soaking, scrub with a soft cloth or an old toothbrush for crevices. Rinse thoroughly with clean water and buff dry immediately with a microfibre cloth. This final drying step prevents new water spots from forming before you’ve even finished admiring your gleaming taps.
Mistakes to avoid (incompatible materials and risky practices)
Brass and copper fixtures require caution. While lemon cleans them effectively, prolonged contact can damage protective lacquer coatings that prevent tarnishing. Test a hidden area first, and never leave lemon on these metals for more than ten minutes without checking progress.
Marble, limestone, and travertine surrounding your taps are at risk. These materials contain calcium carbonate, the same compound in limescale. Lemon juice will etch and dull these stones, causing permanent damage. Protect them with masking tape or petroleum jelly before cleaning nearby metal fixtures.
Avoid mixing lemon juice with bleach. This combination releases chlorine gas, which irritates lungs and eyes. Similarly, combining lemon with hydrogen peroxide creates peracetic acid, an industrial-strength compound inappropriate for household use. Stick to simple lemon solutions or consult guides on safe cleaning with vinegar and baking soda hacks for more complex cleaning challenges.
Descaling a Kettle Naturally with Lemon
Why limescale accumulates inside kettles
Every time you boil water, minerals concentrate slightly as pure water evaporates. The heating element or base gets hottest, causing dissolved calcium to precipitate first along the bottom. Over weeks and months, thin deposits become thick crusts that reduce heating efficiency and flake off into your tea.
Hard water areas see this accumulation faster. If you live somewhere with chalky soil, your kettle might need monthly descaling to maintain peak performance. Soft water regions might manage with quarterly treatment. Watch for white particles floating in freshly boiled water, they signal it’s time to act.
Steps for effective, safe descaling
Fill your kettle halfway with water and add the juice of two lemons, or two tablespoons of citric acid powder. Bring to a boil, then switch off and leave to soak for at least two hours. For severe buildup, leave overnight.
After soaking, discard the lemony water and use a soft brush or cloth to wipe away loosened deposits. Refill with plain water, boil, and discard. Repeat this rinse-and-boil cycle twice more to remove any lingering citrus taste from your next cuppa.
For electric kettles with concealed elements, this method works perfectly. Older kettles with exposed coil elements may need gentle scrubbing around the coil, use a soft bottle brush and take care not to damage the metal.
Lemon plus hot water versus vinegar
Both methods achieve similar results, though lemon leaves no residual smell that might affect your morning Earl Grey. Vinegar requires more thorough rinsing, typically three or four boil-and-discard cycles, to eliminate its flavour completely. Some people detect vinegar notes for days afterward.
Cost favours vinegar slightly, particularly for frequent descaling. But if you’re already buying lemons for cooking, using them for kettle maintenance adds virtually nothing to your shopping bill while providing a far more pleasant experience.
Making Your Shower Gleam: Lemon-Based Anti-Limescale Tips
Regular shower cleaning with lemon
Prevention beats cure in the shower. After your morning wash, spray surfaces with diluted lemon juice and leave it to dry, no rinsing needed. The residual citric acid discourages mineral deposits from bonding to glass and tiles. This thirty-second daily habit dramatically reduces deep cleaning frequency.
For weekly maintenance, spray your lemon solution generously over glass screens, chrome fixtures, and tile grout. Let it work for fifteen minutes while you attend to other tasks. Return with a squeegee for glass and a cloth for metals, wiping everything down before a final rinse with the showerhead.
Showerheads themselves benefit from lemon treatment. Unscrew the head if possible and soak in a bowl of lemon water for several hours. For fixed heads, fill a plastic bag with lemon solution, secure it around the showerhead with an elastic band, and leave overnight. Mineral deposits blocking spray holes dissolve, restoring water pressure.
Dealing with stubborn, encrusted deposits
Decades-old scale on shower screens may require multiple treatments. Start with the lemon-salt paste described earlier, applying it to damp glass and leaving it for thirty minutes. Scrub with a non-scratch pad using circular motions. Rinse, assess progress, and repeat if necessary.
Extremely stubborn deposits might need reinforcement. After lemon treatment, consider following up with castile soap cleaning hacks for home to remove any greasy residues that might be trapping limescale against surfaces. The combination of acid treatment followed by soap cleansing often succeeds where either alone struggles.
Common Questions and Mistakes with Lemon and Limescale
When lemon isn’t enough
Thick scale that’s accumulated over years sometimes resists natural acids entirely. If repeated lemon treatments make minimal progress, you’re dealing with deposits too dense for household methods. Consider a commercial descaler for this initial deep clean, then maintain with lemon going forward.
Silicone sealant around showers often appears scaled but may actually be mould growth beneath the surface. Lemon won’t penetrate this, the sealant needs replacing. Similarly, etched or damaged glass that appears cloudy has permanent surface damage that no amount of cleaning will resolve.
Compatibility concerns: materials and mixtures
Natural stone surfaces, as mentioned, react badly with lemon. Granite is generally safe, but always verify with your supplier. Engineered quartz varies by manufacturer, some include limestone aggregates that acid will damage.
Aluminium cookware and fixtures dull when exposed to citric acid for extended periods. Quick wipes cause no harm, but don’t soak aluminium in lemon solutions. Enamel coatings, gold-plated taps, and certain plastic composites also warrant caution, test inconspicuously first.
Precautions, Dosages, and Storing Your Lemon Cleaners
Getting the dosage right
For routine maintenance, a 1:3 ratio of lemon juice to water suits most purposes. Stubborn deposits benefit from 1:1 mixtures or undiluted juice. Stronger isn’t always better, concentrated acid left too long on delicate finishes causes damage. Start mild and increase strength only when gentler approaches fail.
Citric acid powder dissolves at roughly one tablespoon per 500ml warm water for standard cleaning. Double this for heavy descaling tasks. The powder stores indefinitely in a sealed container, making it economical for households using significant quantities.
Storage, shelf life, and safety
Fresh lemon spray keeps refrigerated for two weeks. After that, effectiveness diminishes and bacterial growth becomes possible. Make small batches you’ll use quickly rather than large quantities that sit for months. Glass spray bottles help preserve acidity better than plastic, which can leach slightly and reduce potency.
Label homemade cleaners clearly, especially if household members might mistake them for beverages. Store out of children’s reach, while not poisonous, concentrated citric acid stings eyes and can upset stomachs if swallowed in quantity. Wear rubber gloves when cleaning extensively, as prolonged acid exposure dries skin and irritates small cuts.
Looking beyond limescale, these same lemon solutions work brilliantly on greasy stovetop residue and sticky countertop marks. The versatility of citrus extends throughout your kitchen, a subject worth exploring when you’ve conquered your bathroom’s calcium challenges.
Your lemons are waiting. Pick one up, slice it open, and take the first step toward naturally sparkling surfaces throughout your home.